A ground version of my air map of Darwin Harbour 1942, Darwin NT 1942 Air map
- Yes
- No
Darwin 1942.
History of the first attack.
Spoiler
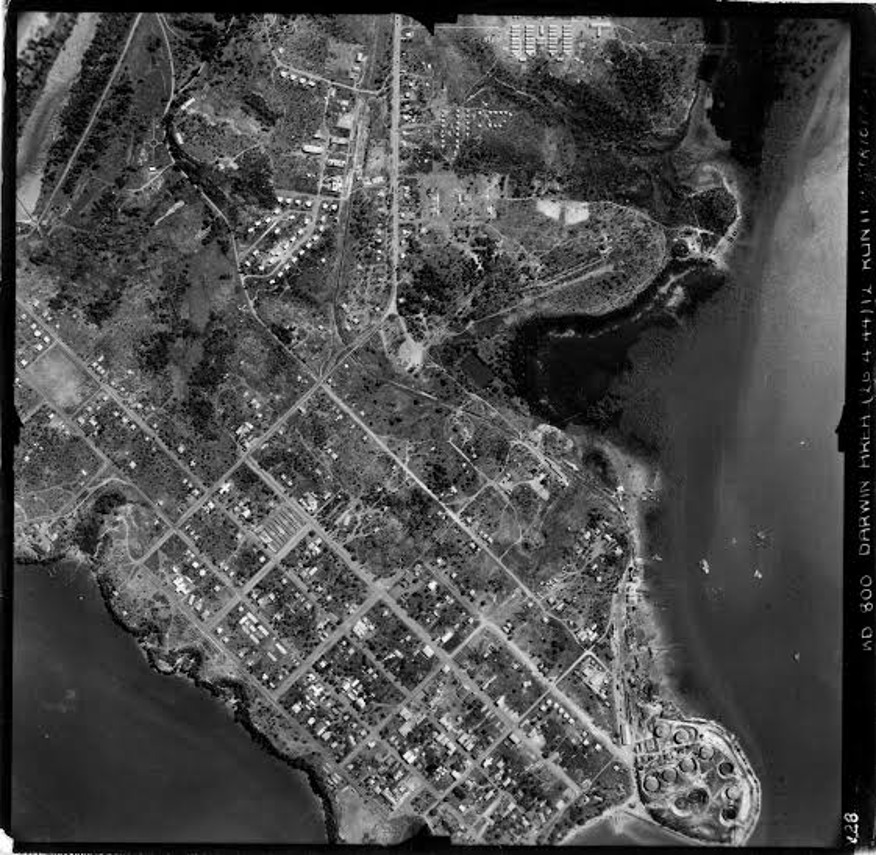
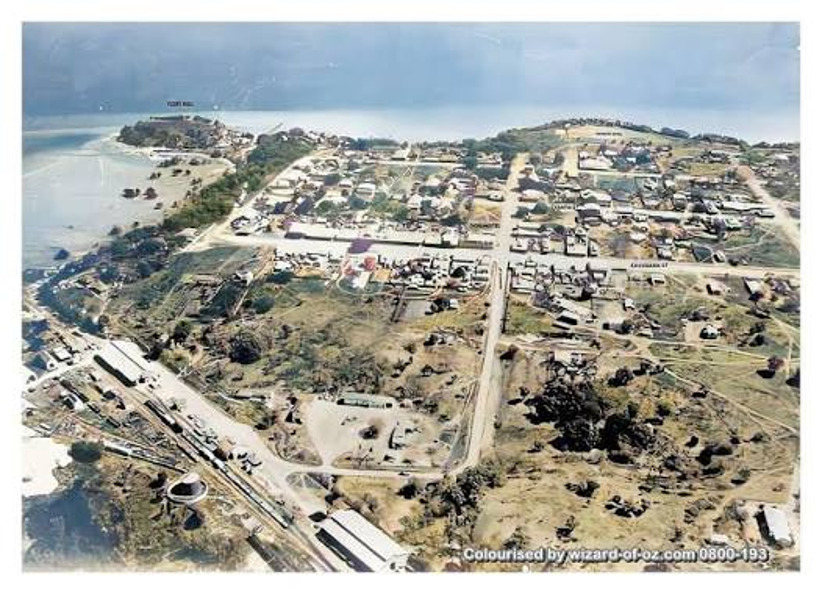
On the 19th of February 1942, the Japanese Empire launched the first of multiple air raids across northern Australia, including Townsville, Broome, Katherine and most notable Darwin, Northern Territory. For the next year over 60 air raids were launched on Darwin alone with the most infamous being the February 19th attacks having more tons of bombs dropped on Darwin than Pearl Harbour, however in history it is overshadowed by the Pearl Harbour attack. These attacks were units and personnel from the Royal Australian Air Force (RAAF), Australian Army, Royal Australian Navy (RAN), United States Army Air Force (USAAF), United States Navy (USN), Royal Air Force (RAF) and Royal Netherlands East Indies Air Force. However Japanese aircrew often targeted civilian infrastructure, including harbours, railways, airfields, and fuel tanks which resulted in civilians getting killed. In response to the attacks, many units were deployed to defend Darwin, including RAAF squadrons, Australian artillery units, USAAF squadrons, US artillery and signal units and RAF Squadrons. Darwin was a major allied base for Dutch East Indies, and its strategic importance was recognised by the Japanese as the base could stop Japanese advances in Southeast Asia. The Japanese used the same aircraft carriers used at Pearl Harbour for the initial raid, while the second raid used land-based aircraft launched from New Guinea. 188 aircraft were launched on the morning of February 19th, achieving a surprise attack due to a flight of RAAF P-40s flying in the same morning. On the way A6M Zeros shot down a USN PBY Catalina and damaged a C-47 on Melville Island. Petty Officer Yoshikazu Nagahama engaged 5 USAAF P-40s single-handedly shooting down 4 of them. The raid only lasted about 30 minutes however the allied losses where significant including a USN destroyer USS Peary (DD-226) which sank in minutes taking 80 of her crew. The total allied losses where 3 warships, 6 merchant ships and damage to 10 other vessels, 20 to 30 allied aircraft both military and civil where destroyed mostly on the ground with 9 out of 10 defending aircraft shot down. Around 250 allied losses were sustained however the Australian Government tried to cover the true number of losses. Japanese losses where 4 to 5 aircraft with 2 crew killed and 1 captured, while 34 aircraft where damaged with some having to ditch in the East Timor Sea.
Later Attacks
Spoiler
Later attacks by the Japanese were not so successful with more RAAF, RAF and USAAF squadrons being deployed however it did force Australia to move its naval fleet to other bases out of Japanese aircraft. The final bombing raid of Darwin occurred on the 12th of November 1943, ending the largest and only series of air raids on Australian soil, with minimal damage reported. Most of the raids were daylight bombing however there where a few night-time raids.
In Game
This is an important part of Australia’s role in the Second World War, being the only time a foreign nation has attacked Australian soil and a part that isn’t well represented. In Game, the battle would take place after the first attack, being a hypothetical ground invasion by the Japanese and could be split into a Darwin city map and an Outback map on the outskirts. My personal opinion is that this map would also be great if a C/ANZAC tech tree gets added. (Link for C/ANZAC TT here as well as the air map of Darwin. United Canada, Australia & New Zealand Ground Tech-Tree: True Brothers, Darwin NT 1942 Air map
Map
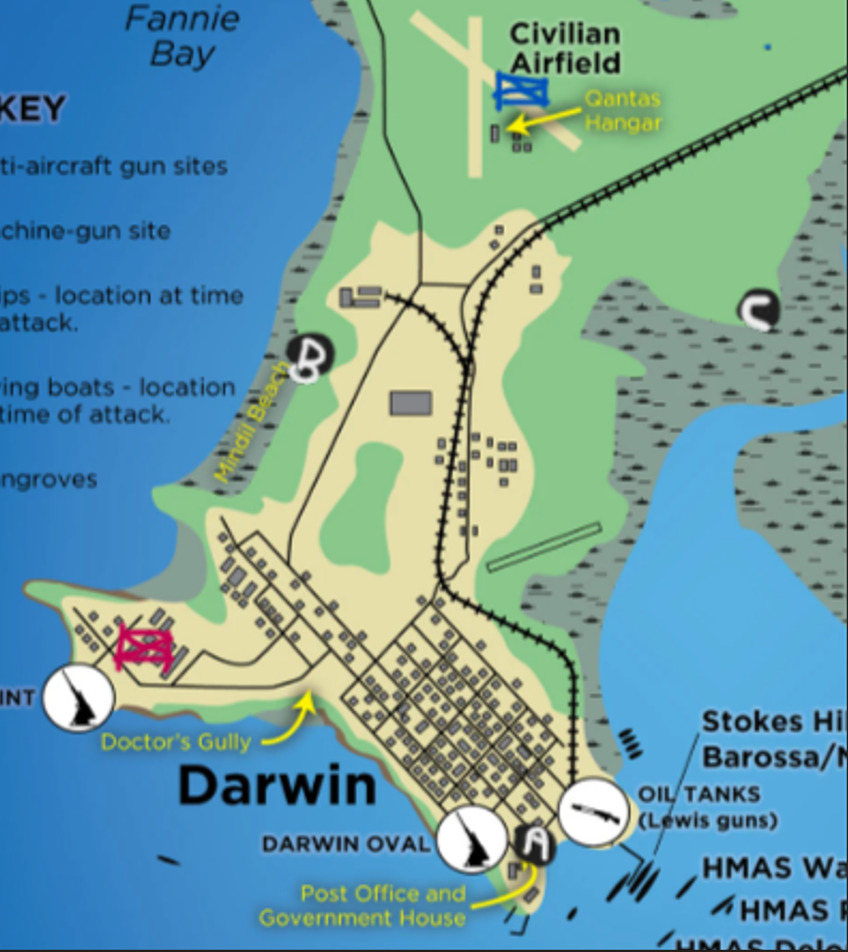
Map illustration (Very bad sorry, not a great artist.) One side of the map would have its spawn at the Larrakeyah barracks/HMAS Coonawarra, while the other spawn would be located more north on the civilian airfield. One objective (A) would be located in the main town next to the wharf. Another objective (C) would be located near the modern-day Charles Darwin National Park, and the final objective (B) could be located just north of Mindil beach.
Photos
Spoiler
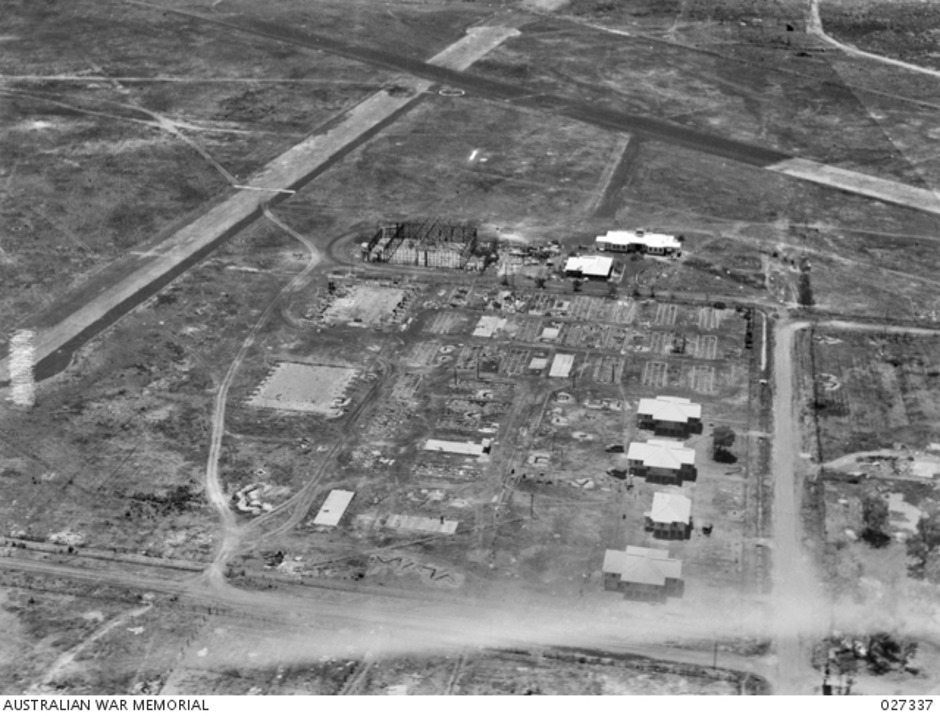
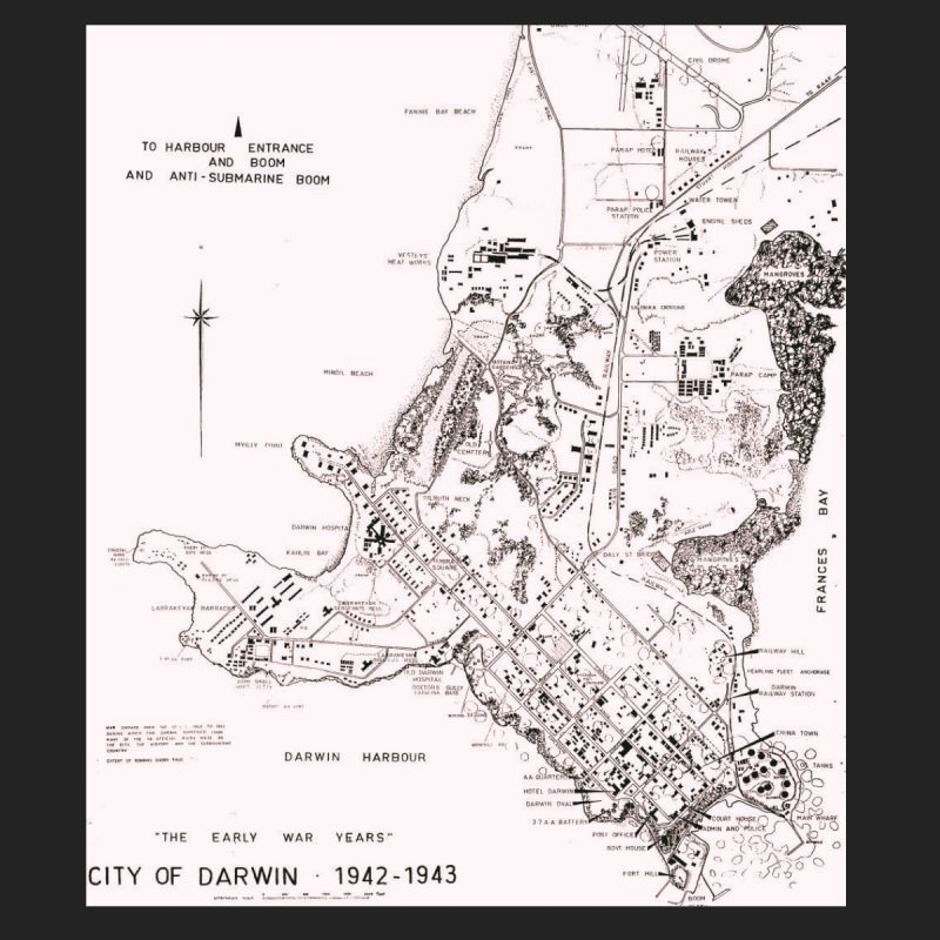
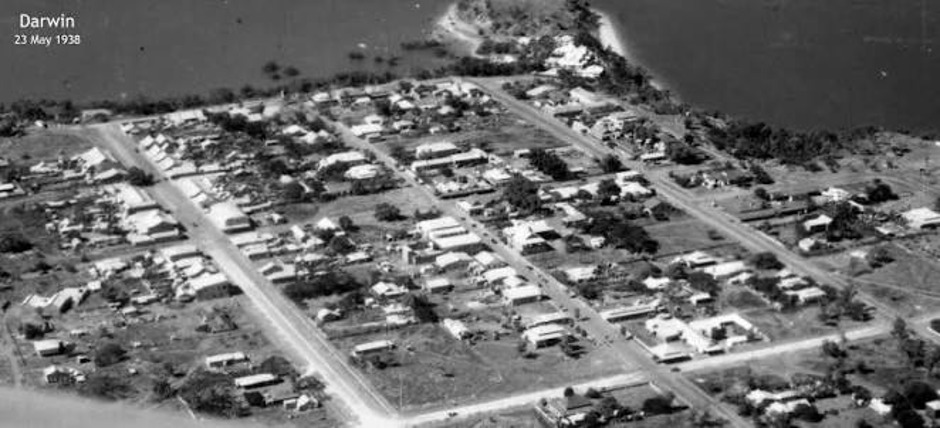
Sources
https://www.awm.gov.au/collection/E84294
https://www.awm.gov.au/collection/C314568