- Yes ✅
- No ❌
Why A Battle Star x WarThunder Event Would Work
A Battlestar Galactica x War Thunder event would work because both worlds share the same core values realism, strategy, and teamwork under pressure. War Thunder has always excelled at delivering authentic vehicle combat where every decision matters, and Battlestar Galactica brings that same energy but to the stars. The combination would create a thrilling PVE experience where players coordinate attacks, manage fuel and ammunition, and defend their fleet from relentless Cylon forces. The overall gameplay would be players vs AI something that many WarThunder players may be used to but I can guarantee this these bots shoot back and you might quickly curse them to be toasters! This crossover would feel natural, immersive, and challenging in all the right ways as you battle throughout the cosmos.
Intro
Battlestar Galactica is a landmark science fiction franchise that began with the 1978 TV series created by Glen A. Larson. It tells the story of humanity’s Twelve Colonies, nearly annihilated by the Cylons sentient machines created by humans that rebelled and waged war against their makers. The surviving humans flee aboard a fleet led by the Battlestar Galactica, searching for the legendary Thirteenth Colony known as Earth. Blending military realism, mythology, and philosophical themes about survival and artificial intelligence, the series became extremely influential in shaping modern science fiction, inspiring later works that explored similar questions of technology, identity, and morality. The 2004 reimagining expanded these ideas further, becoming a critical and cultural touchstone that helped define the tone and depth of 21st-century sci-fi storytelling. Overall Battlestar Galactica would be a great Sci-fi event crossover in WarThunder due to its interesting world building.
Event Mission
This operation takes place in the cold black of deep space no atmosphere, no cover, cold ancient ice, just you and your Viper Mark I. We’re in the thick of the First Cylon War. Your mission is to strike hard and fast against Cylon-held industrial targets hit them before they know you’re there, and get out before they can react. You’ll be engaging Cylon Raiders, intercepting incoming atomic anti-ship missiles, and defending our fleet from counterattack. This is a precision engagement variable (PEV) event coordinated strikes, high risk, no second chances. Once your objectives are complete, you’ll receive a recall order. When that timer starts, you turn and burn back to the Battlestar Galactica. Fail to make it back in time… and you’ll be just another ghost in the void.
Total Mission Failure 🔥⚠️
- Failure to Destroy Cylon Infrastructure —> The target remains operational; Cylons retain control of the sector.
- Complete Loss of Fighter Wing —> All Colonial strike craft destroyed or unaccounted for.
- Destruction of the Fleet —> Battlestar Galactica and support vessels lost. Humanity’s presence in the region ends.
- Failure to Return Before Recall Window —> FTL jump sequence proceeds without you. Majority of the Wing is left behind.
Personal Failure 🫵⚠️
- Pilot KIA (Killed in Action) —> Your service ends in the black. No recovery possible.
- Failure to Return to Carrier —> Abandonment or loss of craft; listed as MIA.
Partial Mission Failure/Victory 😥🤖
- Limited Damage to Target Infrastructure —> Objective partially achieved; Cylon operations continue at reduced capacity.
- Heavy Damage to Colonial Fleet —> Fleet sustains critical losses but manages to withdraw.
- Severe Fighter Wing Casualties —> Less than half of strike group returns; morale and readiness severely impacted.
Mission Victory ✅🥳🍾
- Destruction of Cylon Industrial Facility —> Primary objective achieved; enemy production crippled.
- 80–100% Wing Survival and Return —> High operational success; minimal Colonial casualties.
- Fleet Integrity Maintained —> Galactica and escorts sustained minor or no damage. Humanity lives to fight another day.
Mission Hazards and Hostile Contacts (Enemy AI / Environment)
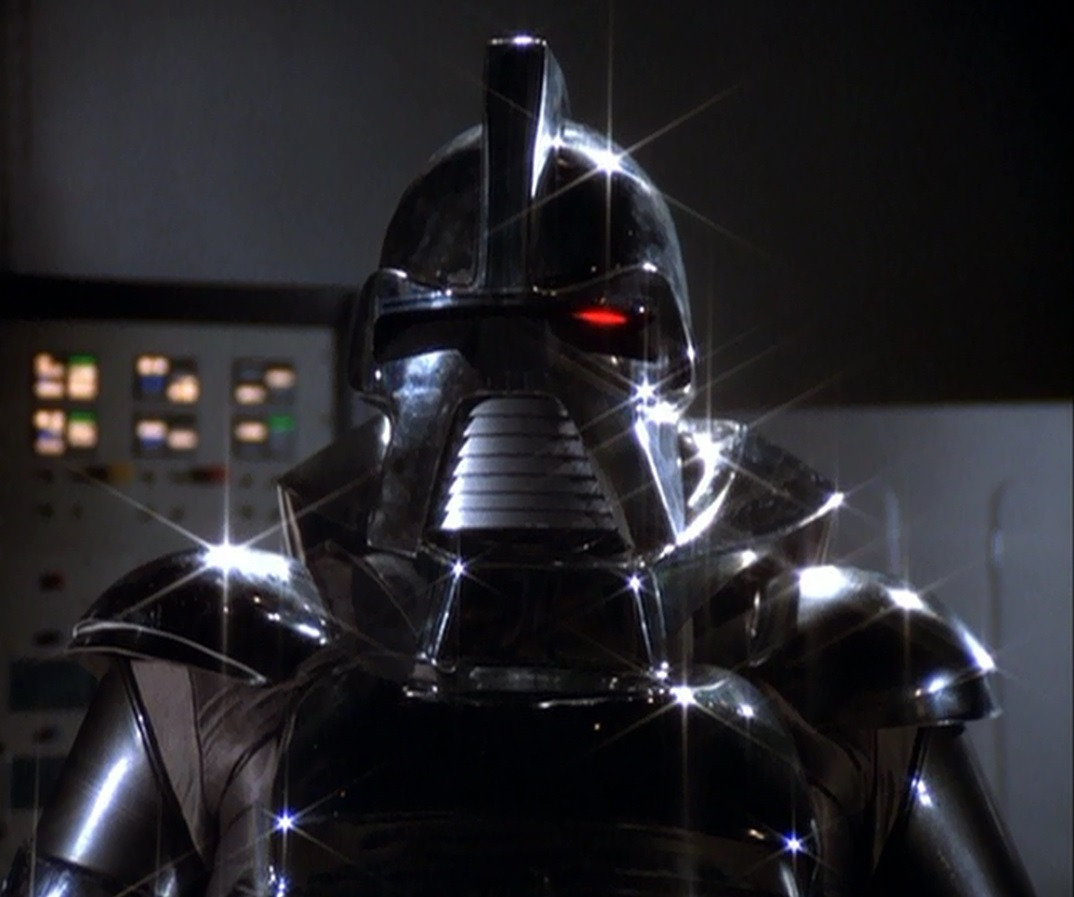
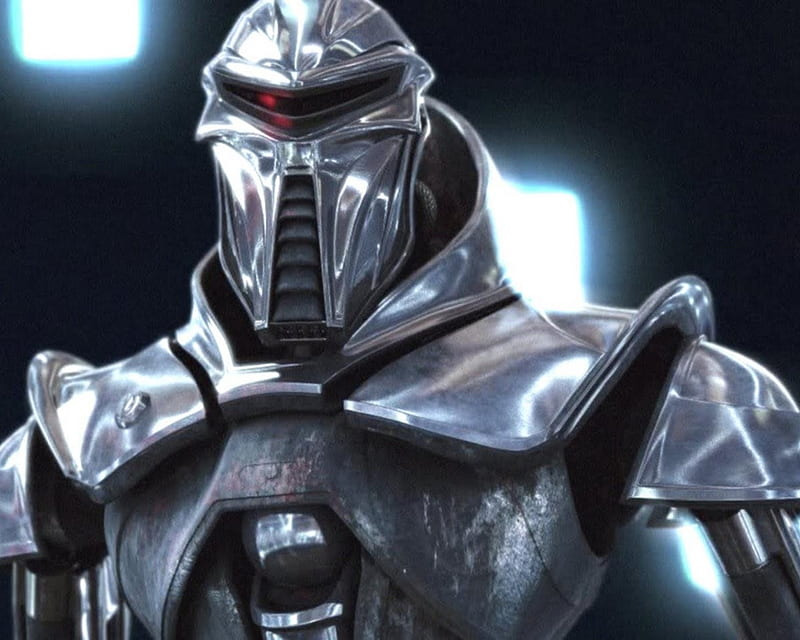
Cylon Raiders (Main Threat):
Fast, agile, and smarter than they look. Expect coordinated swarm tactics and high-G evasive maneuvers. Their cannons will shred your armor in seconds if you let them stay on your six.

Cylon Heavy Raiders:
Gunships and transports rolled into one. Heavily armored, slower, but they pack ship-grade autocannons and missiles. Do not dogfight them - hit from range and move.
Fighter
Cylon Interceptors:
Specialized anti-fighter units designed for pursuit and kill confirmation. Outrun them or outthink them you won’t out-turn them.
Fighter
Cylon Kamikazes:
Expect the kamikaze Raiders to aim for the fleet, not you they’re usually damaged fighters jury-rigged with tactical nukes and surplus munitions bolted to their frames. If one breaks toward a carrier, intercept or divert it immediately; let it hit the Galactica and you’ll be taking the whole task force with you.
Fighter
Enemy Weapons Risks and Defenses
Dangers
-
Atomic Air-to-Air Missiles: Rare but lethal. If you see that flash and your DRADIS lights up like the Goddess’ own halo - you’re already too close.
-
Atomic Anti-Ship Missile: this one’ll end the mission and everyone on it if you don’t get it right. Atomic anti-ship missiles are high-speed, high-yield projectiles launched from Cylon VLS emplacements and missile frigates. They’ll usually come in escorted by conventional anti-ship missiles and chaff-spitting decoys to split your attention. One of those nukes slips through and you’re not counting birds - you’re counting hull fragments and how much paperwork the fleet has to file.
-
Standard Cylon AAMs: Heat-seeking and fast. Dump countermeasures, break hard, and pray they find something hotter than your tailpipe.
-
Flak Fields: Battlestar-grade point defense from captured facilities. Dense clouds of metal moving at terminal velocity - fly through that and you’ll be confetti.
-
30mm Automated AA Guns: Stationary or turret-mounted. Avoid strafing passes unless you like being turned into Swiss cheese.
-
Railgun Emplacements: Long-range kinetic platforms. Their projectiles move faster than your DRADIS can warn you - assume the shot’s already on its way.
-
Defense Satellites: Autonomous orbital platforms armed with 30mm chain guns and optical tracking arrays. These things don’t miss often, and they don’t sleep. Knock out their power cores or get behind something big and solid.
-
Space Proximity Mines: Silent killers. They float in the void, armed with motion sensors and shaped plasma charges. DRADIS can miss them, so trust your instincts. If something feels wrong, it probably is.
-
Optical Dazzlers and Densor Mirrors: Usually rigged to mining outposts or camouflaged platforms) will blind your visual locks - shoot the mirror rig or switch to thermal and you’ll stop it.
-
Autonomous Repair Tenders Little salvage drones trundled out of wreck yards, will glue enemy guns back together if you don’t kill them fast - target the tender swarm or burn their control node.
-
Autonomous Decoy Drones (Chaff Birds) Come from cheap launchers and will chew up your missile locks - don’t waste ordinance on the bait, kill the launcher or use disciplined ID.
-
ECM/decoy cloud generators (drifting pods or fixed jammers) will make your DRADIS sing nonsense - send a Raptor to jam the jammer, use visual targeting, or hit the pod with stand-off fire.
-
Vertical Launching System Emplacement: They’re stolen VLS cells, jammed into asteroid hollows and service-yard scarps, quad-packed and camouflaged like they belong to the rock. When they wake, they vomit medium- and long-range anti-air and anti-ship missiles in waves. Don’t fly a straight line over one. Kill its sensors first, jam the uplink, or hit it from extreme standoff. If it lights off, break hard and fast and accept there’ll be consequences.
-
Capital-Age Turret - 46 cm Kinetic Battery: A relic main battery, refitted on a pedestal outdated doctrine, modern lethality. It throws depleted-uranium slugs that’ll punch through a battlestar’s belt, and it can switch to beehive flak to rip apart fighters. Slow to aim, but devastating when it finds you. Use speed, multiple approach vectors, and suppression. Don’t linger in its envelope force it to slew or overheat. If you can’t kill it, mark it and steer clear.
-
Beehive AA Flak Missiles These jury-rigged anti-fighter weapons: old anti-ship missiles refitted to spit clouds of high-velocity shrapnel and sub-munitions into the path of incoming wings, designed specifically to kill groups of fighters. They’re not pretty up close - they’re slow in tight dogfights but at range they turn a formation into a sparkling Colonial Day Firework show; don’t be fooled by the fireworks. These missiles are usually buried in VLS packs, asteroid emplacements, or frigate batteries; they’ll be fired into predicted approach corridors and timed to detonate where wings bunch up. Don’t become become part of the show: avoid predictable approach lanes, spread out, stagger burns so you’re not a single paint-target, use decoys and flares, have a stealth Raptor destroy the launch node or jam the uplink, and punch through the edge of the burst cone rather than flying into its center. And one last piece of cheer - if you like these fireworks, you’ve got a morbid hobby; keep your distance and let someone else roast these the marshmallows.”
-
Laser Turret - Debris Clearance Systems Turned Weapon Supposed to vaporize stray hull fragments; now they burn through canopy and avionics if you sit still. They take time to focus, but a focused beam cooks systems and makes you glow for every seeker in the sector. Break line-of-sight. Use short, violent burns and translation maneuvers. Don’t trade long exposures for bravado you’ll feel the heat long before the beam finishes the job.
-
Light & Heavy MG Posts (Vacuum Emplacements): “Don’t laugh at a gun with a grunt behind it. These posts are manned by some very angry Cylons. Open‑vacuum emplacements feeding 7.62×51 rounds and .50‑cal belts into anything that moves. Some positions even mount MANPADs or improvised RPGs for close defense; they were built to stop troop landings we’re not running, but they’ll gladly chew a Viper into shrapnel if you fly low and slow. Don’t waste your viper on them unless Command orders it a single 7.62 through your canopy isn’t worth five Cylons. Keep your speed, keep your altitude, and leave those turrets to the boarders.”
-
Radiation Fields: Remnants of nuclear strikes, reactor leaks, or ancient wreckage clouds. The radiation fries comms, blinds DRADIS, and scrambles guidance systems. Stay too long, and it’ll cook your ship and you with it. Some commanders use these zones for cover, but remember: for every place you hide, there’s an equal and opposite way to die there.
-
Engine Plumes: “Listen up warship engine plumes aren’t light shows; they’re rolling walls of molten heat, ionizing radiation, and pressure that will toss your Viper like a toy and cook anything foolish enough to linger. Get caught in one and your airframe takes shock and thermal stress, your avionics start lying to you, heat-seekers blind out, and any Raider on your tail may find its nose melting off; the plume also floods the area with radiation that’ll fry sensors and make a pilot very unhappy in short order. Time your runs don’t go through an engine plume unless your facing a lose lose situation but remember never use a plume as cover unless you like betting on bad odds but you might roll that hard six when you need it most. And one last thing to remember: Newton’s Third Law still applies when a warship shoves you, it shoves back… and it prefers its shoves well-done.”
-
Radar and Optical Sensor Stations: Cylon eyes and ears. They coordinate everything from missile locks to Raider reinforcements. Kill them first and you’ll live longer.
-
Space Debris: Bits of wrecked ships, frozen fuel lines, and shattered hull plates drifting at a few hundred meters per second. Hiding behind it might work. Crashing into it definitely won’t.
-
ICE Rocks: Chunks of frozen water and gas - good for breaking line-of-sight, bad for your canopy if you forget Newton’s Third Law. Remember, pilot: when you hit something, it hits back just as hard.
Special Targets:
Important Targets
1. Cylon AWACS (Converted Civilian Transport)
Big ships. Slow movers. Once hauled people and freight now they serve as Cylon early-warning platforms. They’re blind without their sensors, and they defend themselves with repurposed .50-cal machine guns welded to their hulls. Not much, but enough to chew through a careless Viper.
Take them down and the Raiders go deaf. No coordination, no counterattack.
They can’t maneuver, so line up your run and make it count. Two well-placed missiles will end the fight before it begins.
2. Cylon Tanker and Armament Ship
These beasts keep the Cylons in the air. They carry fuel, munitions, and spare parts the lifeblood of every fleet.
You cut their supply lines, you cut their throat.
Hit them from range and stay clear. When they go up, they go up hard chain reactions that’ll light up the void for klicks. Watch your sensors and don’t get poetic.
3. Cylon Cargo Ship
Freighters. Simple, slow, and stuffed with everything from manufacturing cores to stolen Colonial tech. You’ll usually find them near industrial belts or captured depots.
They look harmless. They aren’t.
Raiders like to hide behind them use them as bait. Approach smart, and don’t waste ammo on the hull unless Command calls for a capture or scan mission.
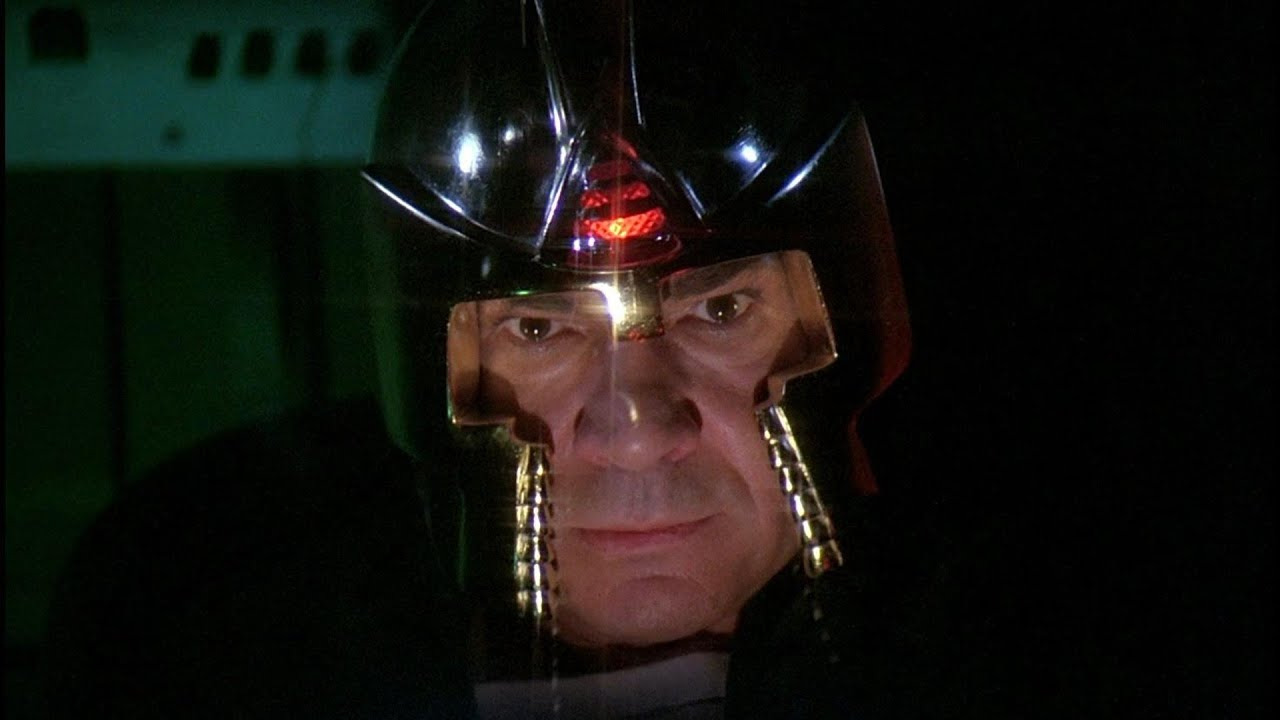
4. Count Baltar – Human Traitor
Yes, that Baltar. The man who sold humanity to the machines and lived to gloat about it. He’s smart -too smart and he’s been helping the Cylons rebuild and coordinate their new fleets.
He won’t be flying, but his hand is in every ambush, every trap you stumble into.
Take out his command center, and the Cylons will lose one of their best human minds.
Don’t underestimate him. He’s a coward, not a fool.
5. Lucifer - Second to the Imperious Leader
Lucifer’s more than a name he’s the Imperious Leader’s will made manifest. A walking processor with a god complex, commanding entire sectors of the Cylon war machine.
Destroying Lucifer won’t just cripple their command chain it’ll rattle every Cylon in the system.
Expect an escort wall and no mercy. You’ll need precision, coordination, and a steady hand. The reward? You cut straight into the machine’s brain.
6. Captured Vipers “Listen up - and listen hard.”
We’ve got reports of Cylon-captured Vipers Colonial frames refurbished and fed into the enemy’s machine. They look like our birds, fly like our birds, but there’s no pulse in the cockpit. These are ghost Vipers: stripped of their pilots, wired into Cylon networks, and used as forward scouts, relay nodes, and bait for ambushes. They’ll slip into debris fields, feign distress, and carry data beacons back to Cylon command. When they can, they’ll break off and run their mission is information, not honor. They will take pot shots and snipe at you be carful and take care there IFF also means they may slip though our AA field.
If one locks onto you it’s not because it’s mistaken it’s because it’s hunting signal, not soul. It will try to draw you into a killbox or lead you into sensor traps. Shoot to disable the relay arrays and scramble their datalinks; if you can force them to burn without delivering their payload, you save every ship in the fleet. And remember this plain fact: if you get left behind if Command jumps and you don’t you’ll be turned into exactly this: a hollow bird carrying another’s’ fire. Don’t let it happen.
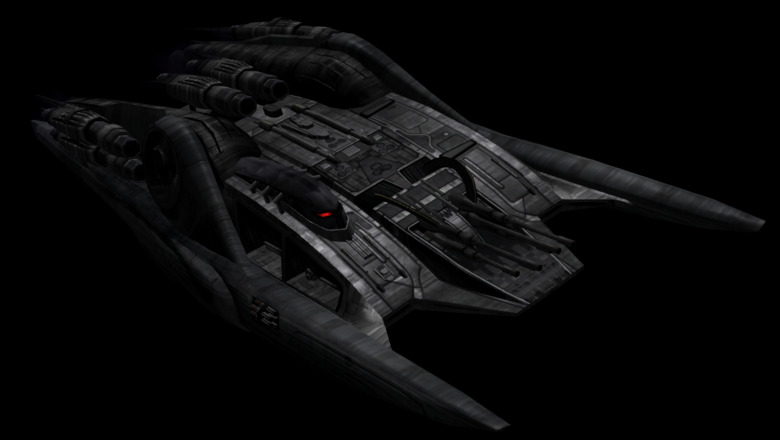
Enemy Ships
The Ships
“Listen up - this sector’s a backwater. We won’t see the full Cylon fleet… yet. That said, scouts report a quick reaction force on the move. Expect these local contacts. Know them, respect them, and don’t get cute.”
Cylon Missile Frigate
Big hull, cheap rebuild once a Colonial design, now pressed into frontline service. It lacks serious anti‑fighter systems but carries a main battery that will ruin your day and a small salvo of anti‑ship missiles.
- Threat: Main cannon and those anti‑ship missiles - if somehow your viper gets hit by one goddess help you.
- Tactic: Avoid direct engagement unless Command orders it. Use stand‑off strikes or lure escorts away before you chew on the hull.
Cylon AA Cruiser - “The Machine‑Gun Ship”
Not built to punch capital ships; built to shred wings. Medium‑caliber cannons and dozens of 30 mm heavy MG turrets, plus clusters of short‑ and medium‑range anti‑fighter missiles.
- Threat: Massed AA fire and missile salvos that will tear a Viper apart in seconds.
- Tactic: Suppression runs from multiple axes, ECM and chaff, or let friendly missile strike soften it up first. Don’t run straight at it.
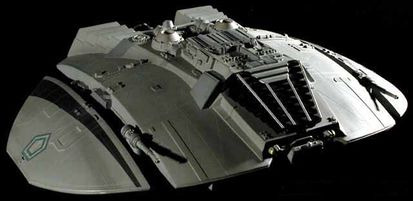
Cylon Carrier
Simple, utilitarian carrier with two open hangars. It looks inviting almost tempting for a hot pass, but it’s ringed with a dozen 30 mm heavy MGs and four medium AA batteries.
- Threat: Hangar traps, rapid point‑defense fire, and escorted Raider screens. Getting sloppy in the bay gets you shredded.
- Tactic: If you must strike the hanger, coordinate your wing, punch hard, and break fast.
Friendly Space Naval Assets
Friendlies
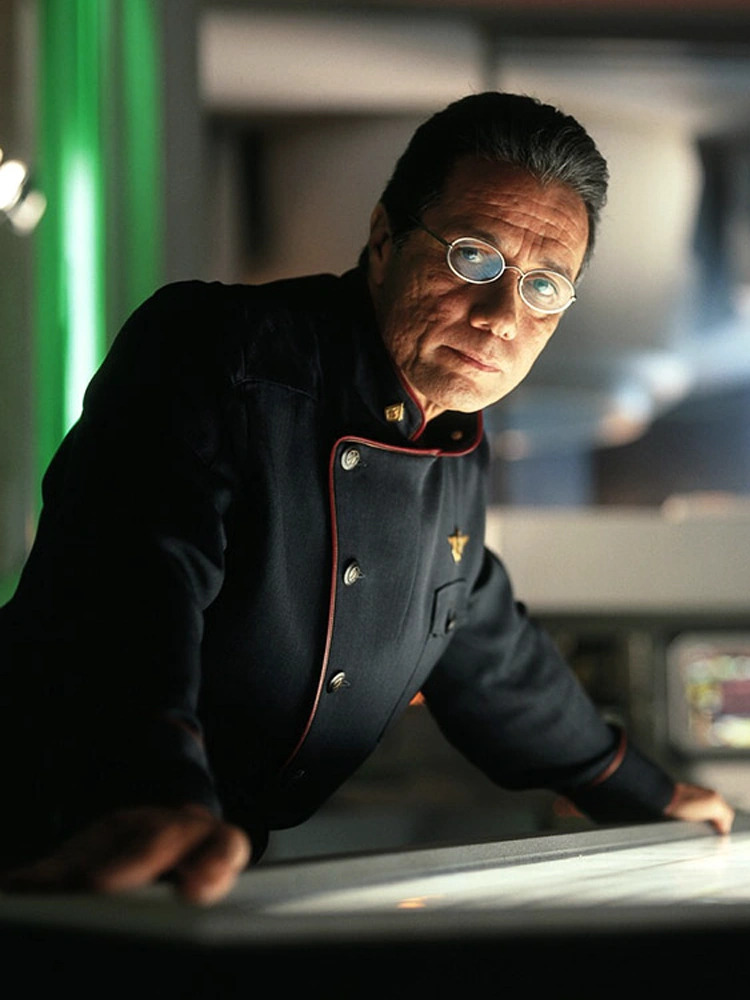
Battlestar Galactica
She’s the big one heavily armored, armed to the teeth with guns, missiles, nukes, and anti-air batteries. This is your home and your lifeline. Don’t let her get destroyed, but don’t panic if she takes a hit she’s built to take more than you’ll ever throw at her.
Secondary Carrier
Built at a civilian shipyard, lightly defended, with an exposed landing zone and bridge. 30mm guns and short-range AA only. Vulnerable to Cylon kamikazes and strike fighters. Fly carefully near her; one mistake and she’s a sitting duck.
Q-Ship
Civilian cargo hull pressed into war service. Packed with short- and medium-range AA excellent for getting a Rader off of your tail. They play dirty; you can too.
Missile Cruiser
The old girl everyone loves. Armed with atomic anti-ship and fighter missiles. Stay outside her munitions blast radius unless you’re cleared for close support one slip and you’re ash in space.
Ammo Ship
Short-range AA only. One hit and it’s a fireworks show you don’t want to be part of. Treat her like a floating ammo magazine because she is.
Friendly AWACS
Vectoring, eyes, ears, and brains of the operation. Equipped with defensive 20mm cannons, but she’s not a fighter. Keep her safe, follow her vectors, and she’ll keep you one step ahead of the enemy.
Refueling and Rearming Ship
Stop by when you’re low on fuel or ammo. Don’t dawdle she’s not a target, but neither is the clock. Keep your wing tight and get in, get out.
Troop Ship
Carries some decent defensive weapons and, more importantly, your replacements if things go sideways. Hopefully, we won’t need them but they’re gunning for your cockpit.
Your Birds
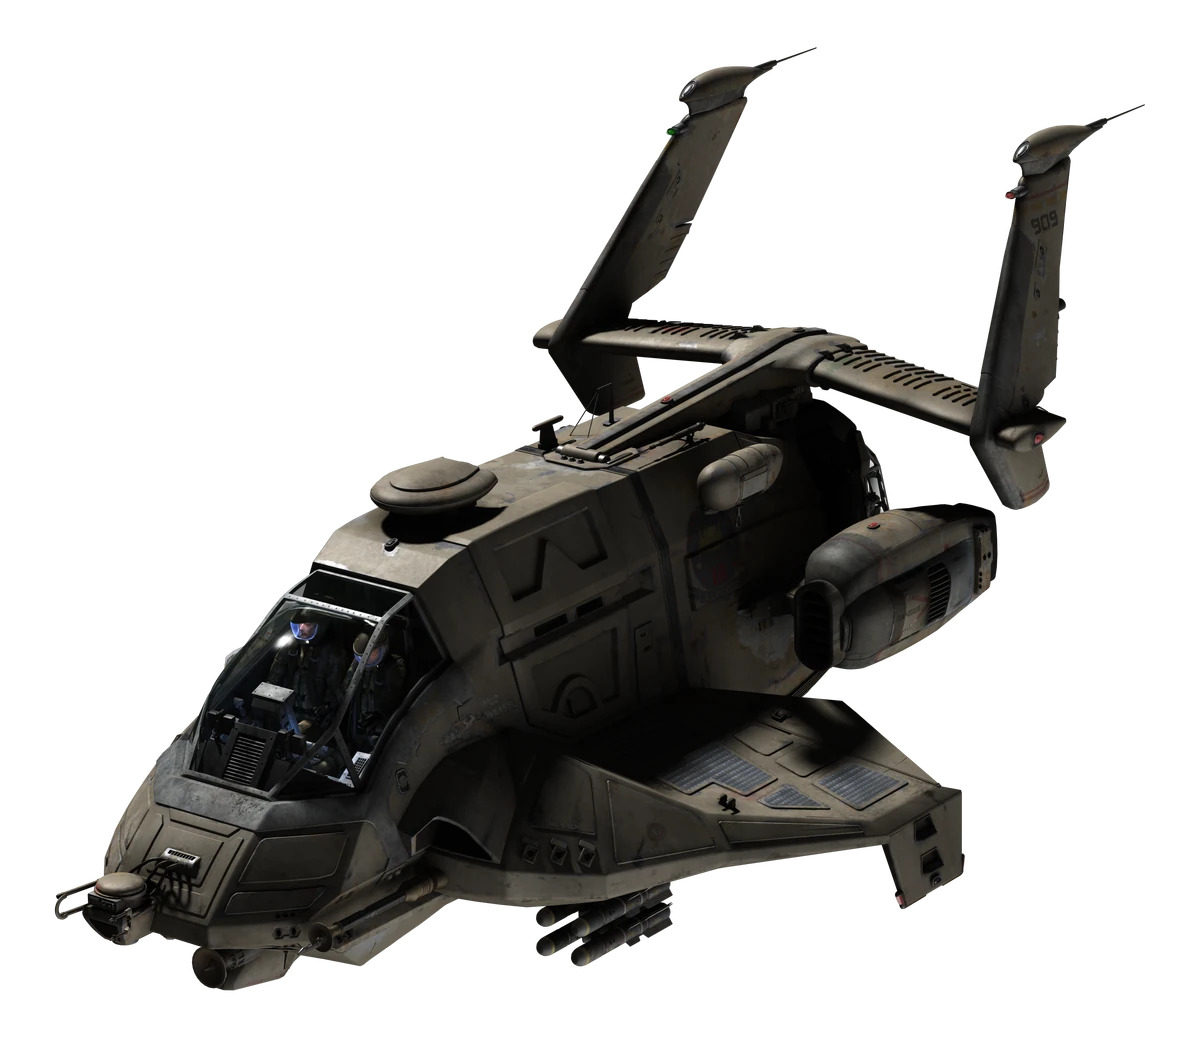
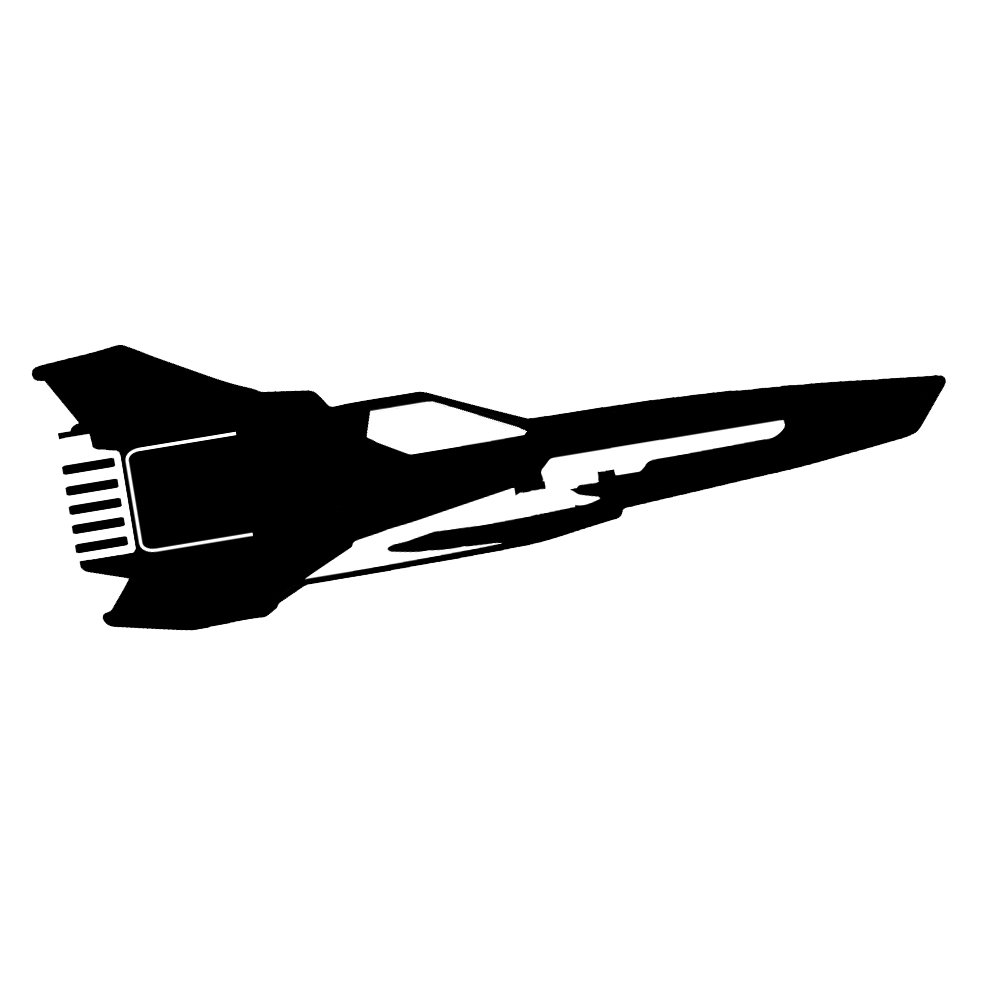
Colonial Viper Mark I
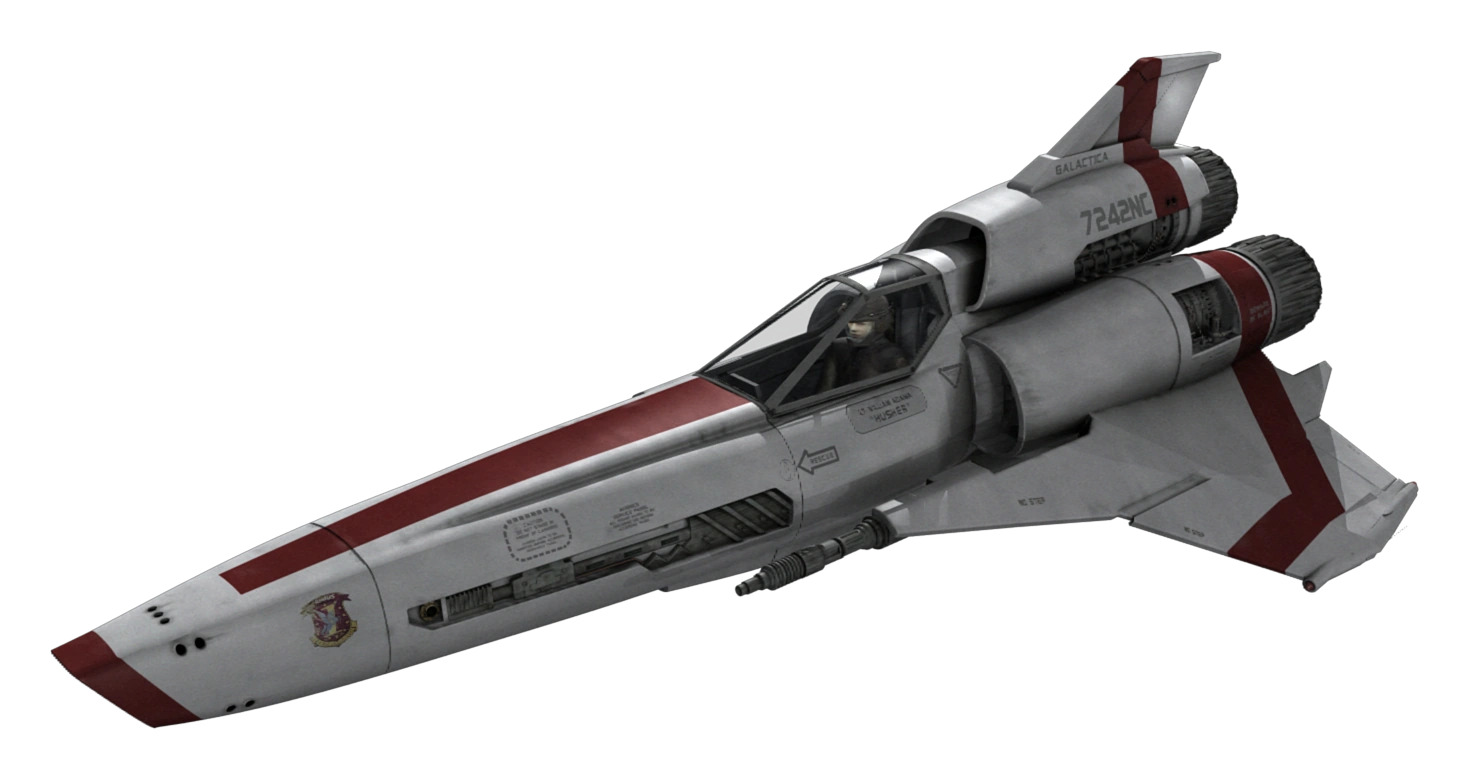
Bird Specification
Role: Space superiority / dogfighter (short‑range strike in a pinch)
- Guns: 3 × nose-mounted 30 mm autocannons (forward-firing).
- Ammo (belts): ~600 rounds total (distributed across the three barrels). Effective burst time: ~8 - 12 seconds sustained fire.
- Missiles: 4 hardpoints (2 wing, 2 fuselage) typically carry 4 guided air-to-air missiles (medium range).
- Ground/Ship Strike: 2 × light guided anti-structure rockets or precision torpedoes (stand-off weapons).
- Rockets / ATGMs: one small anti-armor missile on mission loadout.
- Atomic Missiles: single tactical warhead or two Atomic Air to Air.
- Fuel / Tanks: Internal tanks only. 90 minutes at cruise; combat burn: ~10 - 20 minutes at sustained high-thrust maneuvering before fuel reserves become critical.
- Range / Burn Time: Transit range depends on mothership support; independent operational radius ~300–600 km (fighters operate from Battlestars, not interstellar alone).
- Notes: “Fast, lethal, and fragile your Viper is for dogfights and precision slaps to the enemy’s teeth. Use it where speed and pilot skill matter. Don’t try to trade armor with a gunship.”
Colonial Raptor
Bird Specification
Role: Recon, electronic warfare, light transport, sensor/AWACS duties
- Guns: 1 × forward 20 - 30 mm autocannon (defensive), plus optional pintle-mounted machine gun.
- Ammo (belts): ~400 rounds for primary cannon; additional belts for pintle gun if fitted.
- Missiles: 2 × light guided missiles (mostly defensive / point strikes).
- Ground/Ship Strike: Can carry small guided bombs or torpedoes for precision strikes — usually 1–2 small ordnance loads.
- Rockets / ATGMs: one ATGM.
- Atomic Missiles: No.
- Fuel / Tanks: Larger internal tanks than Viper. Estimated endurance: 4–6 hours loiter (typical EW/ISR runs). Combat burn: 20–30 minutes high-thrust if needed.
- Range / Burn Time: Extended patrol range with mothership vectoring; ideal for standoff operations.
- Notes: “The fleet’s eyes and ears don’t put this bird where Vipers belong. She sees, she jams, she rescues. Let her do it.”
Colonial Blackbird (Stealth Fighter)

Bird Specification
Role: Covert strike / stealth recon / surgical takedowns
- Guns: 1 × forward 30 mm autocannon (low-signature mount).
- Ammo (belts): ~300 rounds (conservative to limit heat/signature).
- Missiles: 2 × low-signature tactical missiles (short-to-medium range).
- Ground/Ship Strike: 2 × precision micro-torpedoes or sabotage charges (for destroying relays/sensors).
- Rockets / ATGMs: Yes One but not recommended.
- Atomic Missiles: single tactical warhead or two Atomic Air to Air.
- Fuel / Tanks: Reduced internal tanks to minimize mass. Estimated endurance: 60–90 minutes stealth transit; combat burn: short, high-energy bursts only (5–10 minutes) before signature becomes dangerous.
- Range / Burn Time: Shorter range but built for getting in and out unseen.
- Notes: “Bring this bird for quiet kills. She’s fragile but she can walk right into the wolf’s den without the alarm bells. Use discipline one hit, she’s gone.”
Scorpion‑Class Attack Craft

Bird Specification
Role: Heavy strike / ground-attack / close support
- Guns: 1- 2 × heavy 30 - 40 mm autocannons plus a forward-mounted 40–60 mm cannon option.
- Ammo (belts): ~1,200 - 2,000 rounds total (heavy belts for long suppression runs).
- Missiles: 6–8 hardpoints for air-to-surface and air-to-ship missiles (mixed loadouts available).
- Ground/Ship Strike: Capable of carrying multiple heavy rockets, ordnance packs, and guided anti-structure munitions.
- Rockets / ATGMs: 4- 6 medium-to-heavy ATGMs for fortified targets / capital ship harassment.
- Atomic Missiles: 4 Atomic Tactical Weapons 8 Atomic Air to Air.
- Fuel / Tanks: Large internal tanks. Estimated endurance: 2-3 hours cruise; combat burn: 30–45 minutes heavy maneuvering before reserves critical.
- Range / Burn Time: Designed for longer strike missions and close support.
- Notes: “Hard-hitting and slower bring Scorpions when you want something to stay and fight. They’re less nimble, more stubborn. Don’t send them into a dogfight alone.”
Cobra Gunship
The Bird
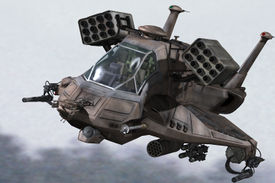
Bird Specification
Role: Heavy close air support / troop escort / strike gunship
- Guns: Multiple forward-facing heavy autocannons (30 - 50 mm) and wing-mounted rotary guns.
- Ammo (belts): ~2,000+ rounds (designed for sustained suppression).
- Missiles: 4 - 6 hardpoints for rockets and guided anti-structure missiles.
- Ground/Ship Strike: Heavy rockets, glide bombs, and dedicated anti-fortification warheads. Excellent for planetary or station attacks.
- Rockets / ATGMs: Several unguided rocket pods and 2 - 4 ATGM rails for armored targets.
- Atomic Missiles: 4 Atomic Tactical Weapons 8 Atomic Air to Air.
- Fuel / Tanks: Large internal tanks and optional external tanks for extended loiter. Estimated endurance: 3 - 5 hours loiter; combat burn: 30 - 60 minutes heavy fire support.
- Range / Burn Time: Suited to sustained support runs and heavy suppression.
- Notes: “Bring Cobras when you need holes punched in things and enemy heads pinned down. They’re loud, they’re ugly, and they get the job done.”
Final Tactical Notes
- Pick the right craft for the right job. Vipers hunt fighters and run quick strikes. Raptors observe, jam, and tow. Blackbirds slip in and cut nervous systems. Scorpions and Cobras take the hits and give them back.
- Ammo & fuel are finite. Know your burst times and your burn times. Don’t waste ordnance on soft targets if Command wants salvage or intel.
- Atomic payloads. You do not carry nukes for short range pew-pew dogfights you will be caught in the blast. Use them to shatter hardened structures, ships or to destroy wings of Raiders in one go. One authorized strike, one use, and a lot of paperwork assuming you come back.
Maneuvering and Surviving in Space
Six degrees of Freedom
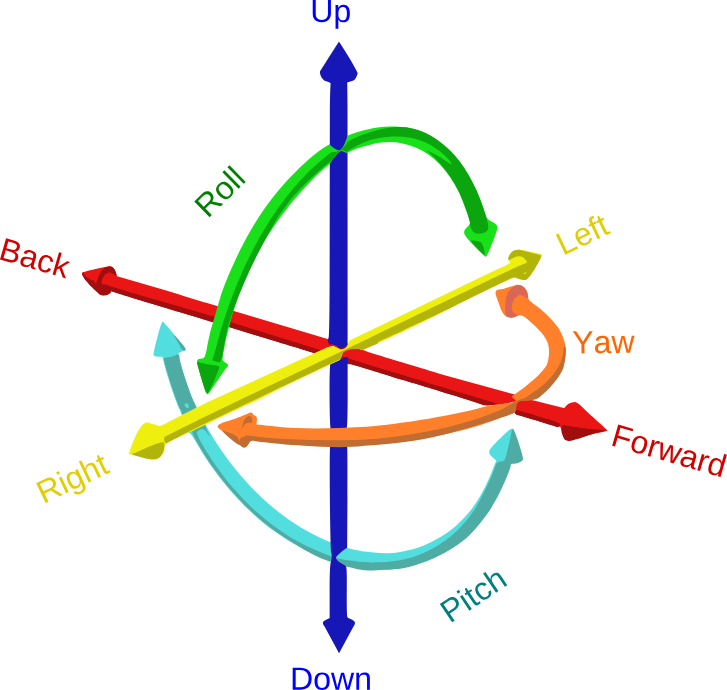
Space Craft Maneuvering
Maneuvering in Space Reminder
“Listen up - this isn’t an airshow back at the academy. You’re flying in the black: six degrees of freedom, no lift, no atmosphere to bite into, and nothing forgiving about a mistake. Here’s what you need to know straight, practical, and without the poetry.
Six degrees of freedom (what you actually fly):
You can translate forward/back, up/down, left/right and rotate in pitch, yaw, and roll. There’s no ‘bank-and-turn’ like an atmosphere; when you thrust, you change velocity vector. When you stop thrusting, you keep moving. Use short, controlled burns and your RCS for fine attitude work you don’t need to burn full throttle to get somewhere. Know your vector, set your burn window, then coast. Newton will do the rest.
Fuel burns & motion economy:
Continuous thrust wastes fuel and gives you a big thermal signature. Plan burns: orient, pulse, then coast. Micro‑FTL hops and mothership vectoring exist to get you where you need to go you’re not a ferry. Save fuel for combat maneuvering, emergency burnbacks, and the recall window.
G‑forces & your body:
Pulling Gs in a Viper isn’t a stunt; it’s biology against physics. Your G‑suit, conditioning, and approved medical countermeasures help but they’re not miracles. Sustained or extreme Gs can blackout you out, tear vasculature, or worse. If your body fails, your bird dies with you.
Heat, signature, and thermal management:
Everything you burn puts heat into the environment your engines, weapons, and even your weapons casing. Heat makes you bright on Cylon sensors and draws missiles. Every long burn increases the odds you’re seen and tracked. Overwork cooling systems and you’ll suffer avionics faults or structural stress. If your systems start spiking, back off: shed heat, drop to passive sensors, and let the radiators breathe.
Damage & cockpit survivability:
High-energy maneuvers, overheating, and debris impacts damage systems and can cook the pilot through the canopy. A scorched avionics bay means guidance failure; a ruptured fuel line means you’re a fuse. Don’t gamble on one more pass if systems are amber. Bring your bird home intact a living pilot is worth more than any score.
Tactical rules of thumb:
- Burn in short, planned pulses accelerate, set vector, coast.
- Use RCS for attitude, engines for delta-v.
- Avoid long burns. Heat equals a target.
- Don’t chase impossible Gs fly smart, not raw.
- If your instruments start lying to you, assume the worst and RTB.
Now strap in, run your checks, and remember: space doesn’t care how brave you are. It only cares how well you understand the rules.”
Map
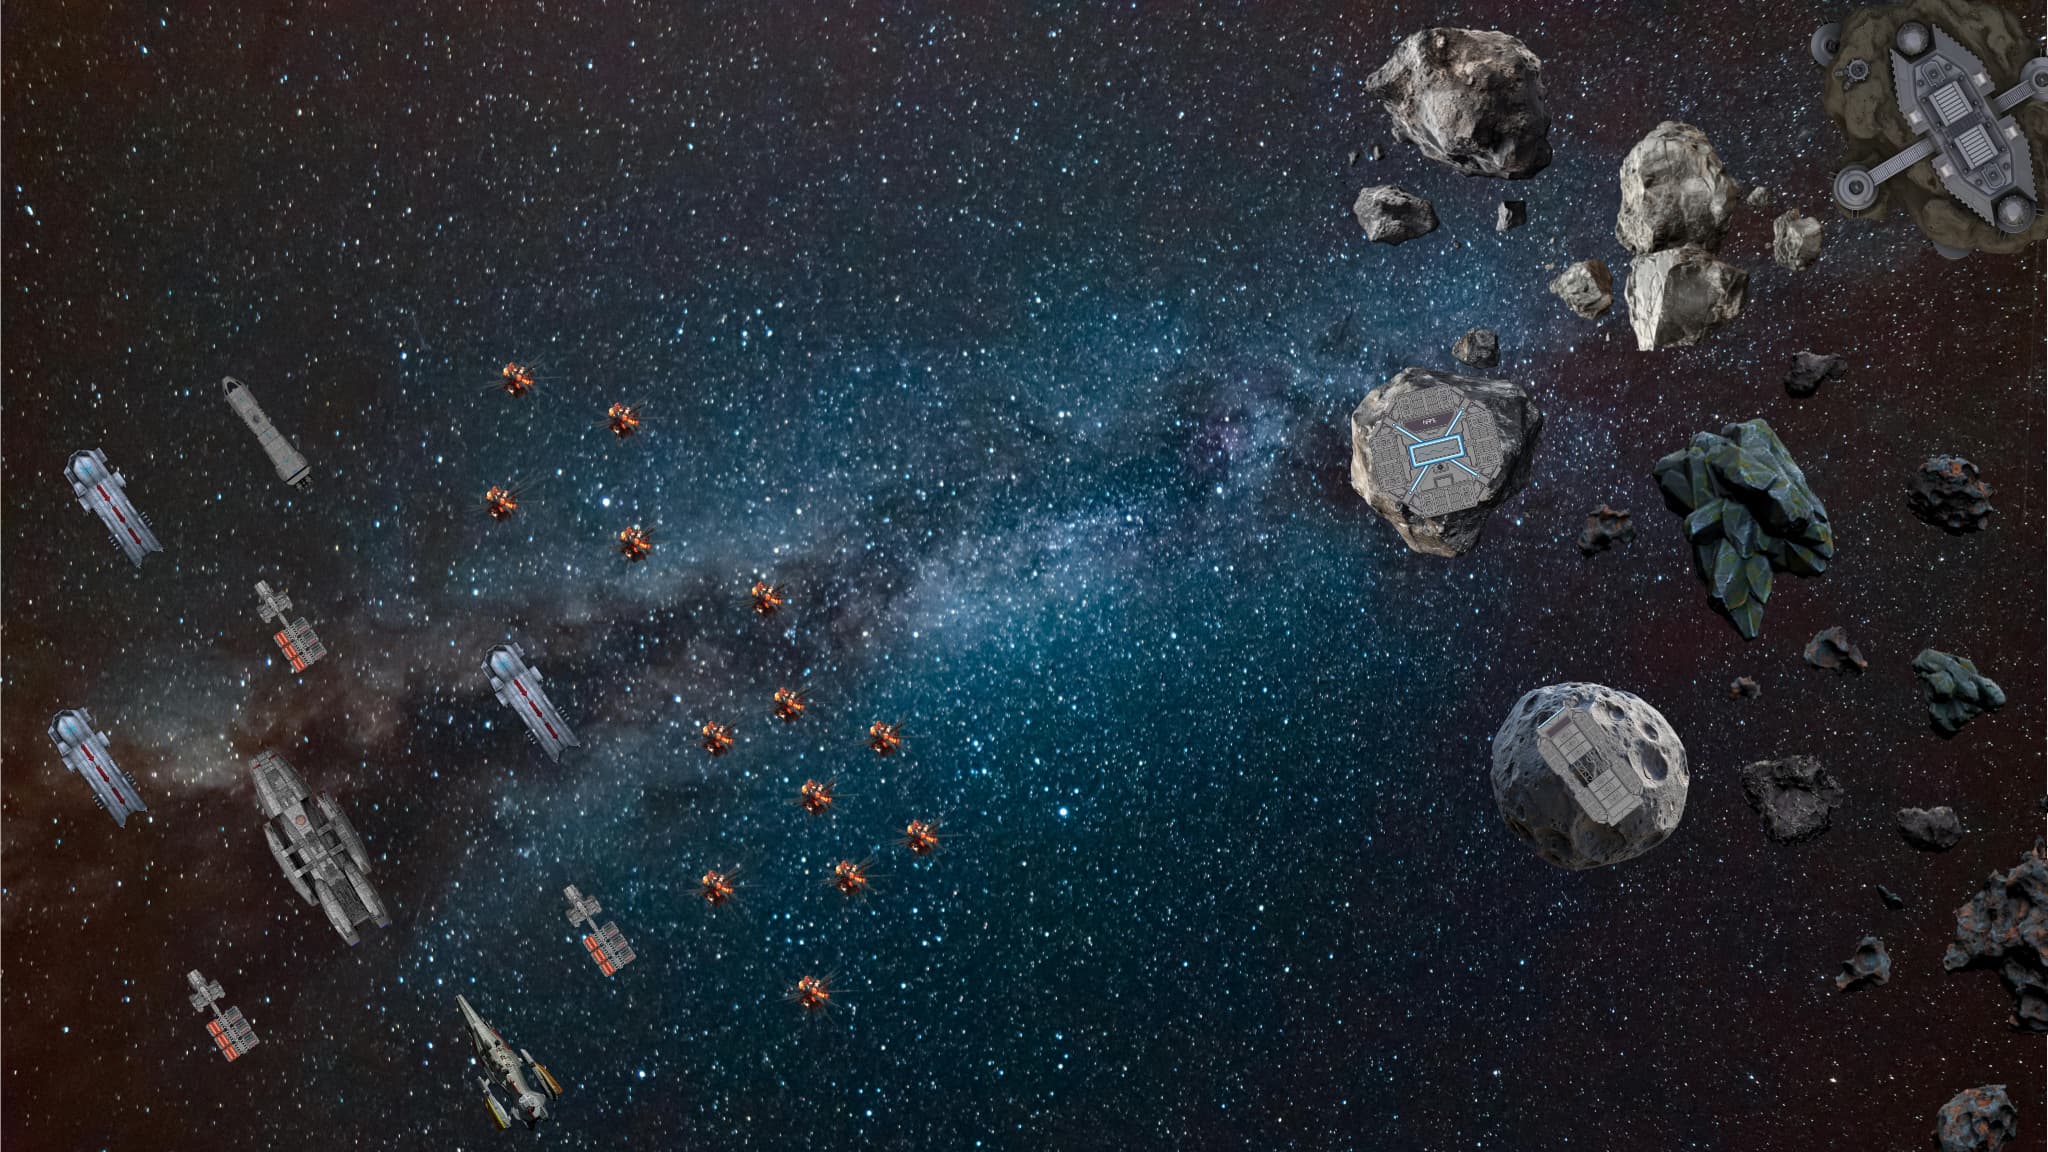
I’m not a professional game map designer, but the basic concept for this map is a PvE (Player vs Environment) scenario where players face off against AI-controlled Cylon forces. The objective is to follow mission directives, destroy key targets, and retreat when ordered or when out of ammunition. Going rogue might earn you a few extra kills, but it can cost the entire team the mission coordination and discipline are what win battles. This is experiment on way to encourage team work in a game which is know for the complete opposite of that.
The mission takes place in deep space, where there’s no up or down just the cold void and a cluster of asteroids and comets being mined to fuel the Cylon war machine. Players will navigate through debris fields, asteroid tunnels, and mining platforms fortified with anti-ship turrets, missile batteries, and radar arrays. These environments create natural choke points, ambush routes, and opportunities for coordinated strikes.
The AI enemies will include Cylon Raiders, automated defense turrets, and capital-ship emplacements. Your friendly fleet, including the Battlestar Galactica, a secondary carrier, and support ships, will move dynamically across the map engaging heavier threats and providing anti-fighter cover. Your job is to take out anti-ship defenses, relay stations, and strategic targets before the fleet orders a withdrawal.
From a space combat map design perspective, the key elements include:
True 3D movement → no fixed up or down, allowing for multi-axis dogfights and flanking maneuvers.
Layered terrain → asteroid belts and mining stations create both cover and danger zones.
Dynamic hazards → drifting debris, radiation pockets, and engine plumes that can blind sensors or damage ships.
Adaptive AI → responds to attacks, reinforcements, and changes in fleet positioning.
Objective variety, → escort missions, surgical strikes, and timed retreats.
Cinematic lighting and particle effects for engine trails, missile bursts, and reactor glows to capture the gritty realism of Battlestar Galactica’s visual style.
For atmosphere and immersion, the map’s music should draw directly from Bear McCreary’s iconic BSG soundtrack, including:
“Prelude to War” → for build-up phases or coordinated attacks.
“Storming New Caprica” → during full-scale fleet engagements.
“The Shape of Things to Come” → for tense defensive moments.
“Pegasus” → when the Galactica enters the fight or heavy guns open up.
“Passacaglia” or “Wander My Friends” → for mission intros or debriefing screens.
Spoiler
https://youtu.be/Y9CqU1aMqyg?si=QSgBZjXUbZNoN6RX
https://youtu.be/YYngP7EuG4I?si=oQzBl4k-KRK6Jyrj
Together, these musical cues would enhance the emotional tone the quiet isolation of deep space, the chaotic rhythm of battle, and the weight of survival that defines Battlestar Galactica.
Rewards
Avatars
Spoiler
Count Baltar
Lucifer

The OG 1978 Cylon
Cylon
Number 06 Cylon

Number 08 Cylon

Captain Kara “Starbuck”

Captain Lee “Apolo”

Admiral Adamas
Colonel Saul Tigh

Dr. Gaius Baltar

Decals
Spoiler
Viper Squadrons

Cylon Raider Kill Marks

Cylon Kill marks
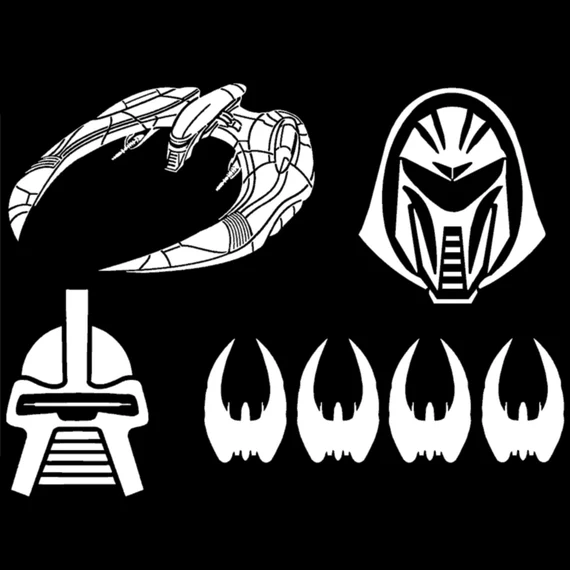
Viper Kill Mark
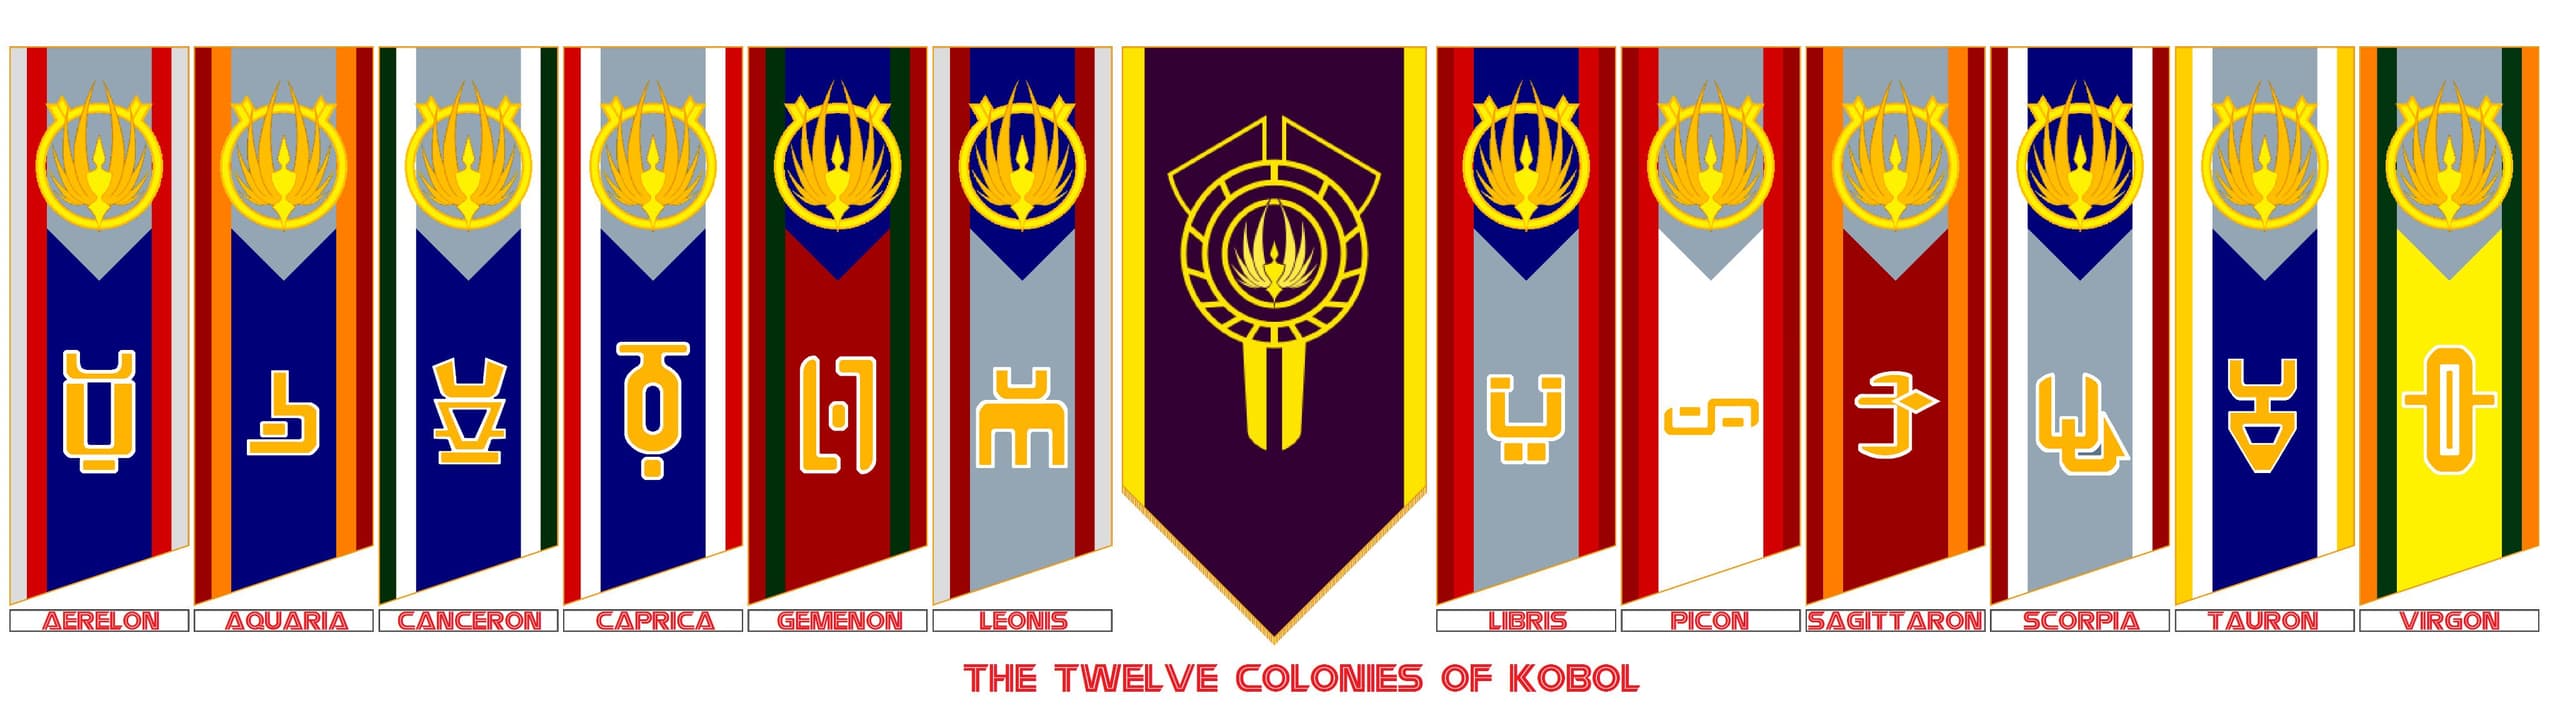
12 Colonies Flags
Colonial Navy Emblem

Starbuck Emblem
Colonial Marines

Viper Patch
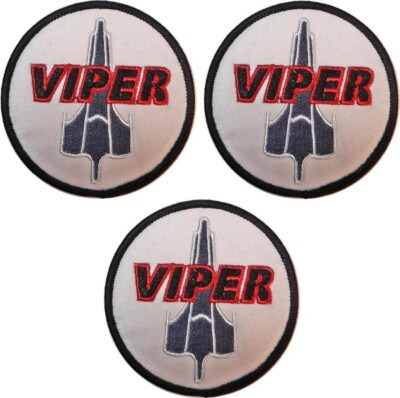
Viper wing Emblem

Name Tags
Spoiler
“Sometimes, you have to roll the hard six.”
“All of this has happened before. All of this will happen again.”
“Nothing but the rain”
“So say we all”
“The fleet must survive. That is our only mission now.”
“We are the children of the machines.”
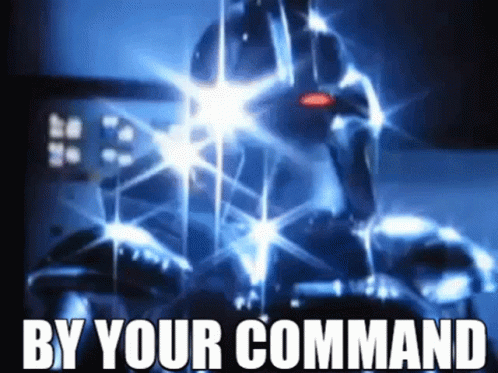
“By your command.”
“Toaster”
“Burn Galactical your finished Adama!”
“This is going to be a classic defeat”
3D Decorations
Spoiler
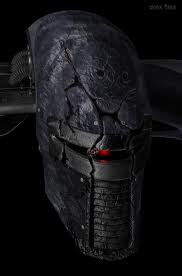
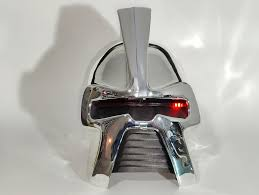
Cylon Head With Iconic Red Eye (For Tanks)
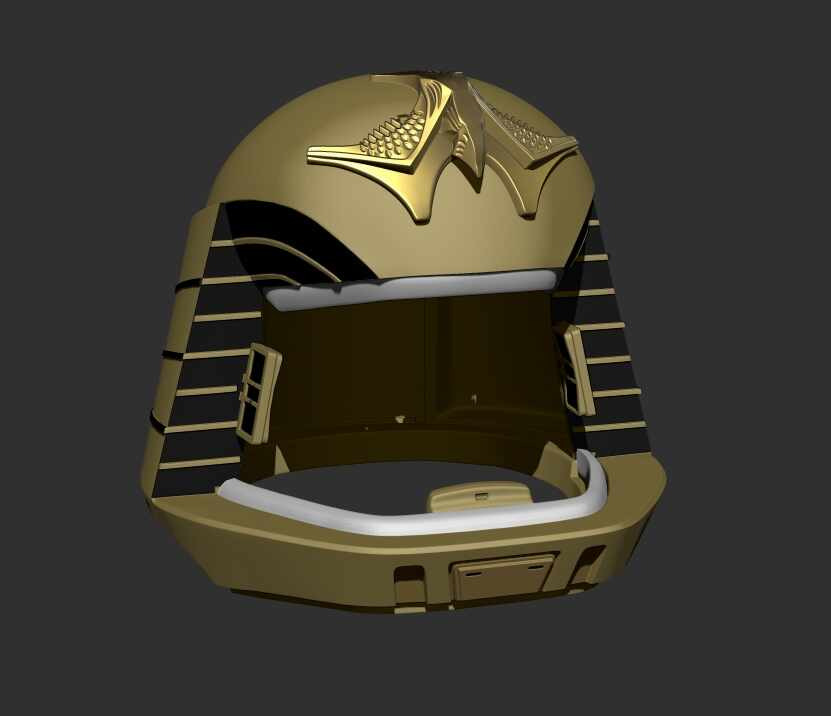
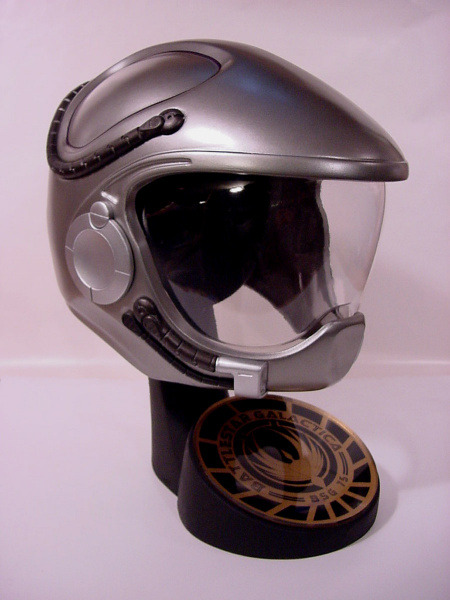
Clasic Viper Helmet
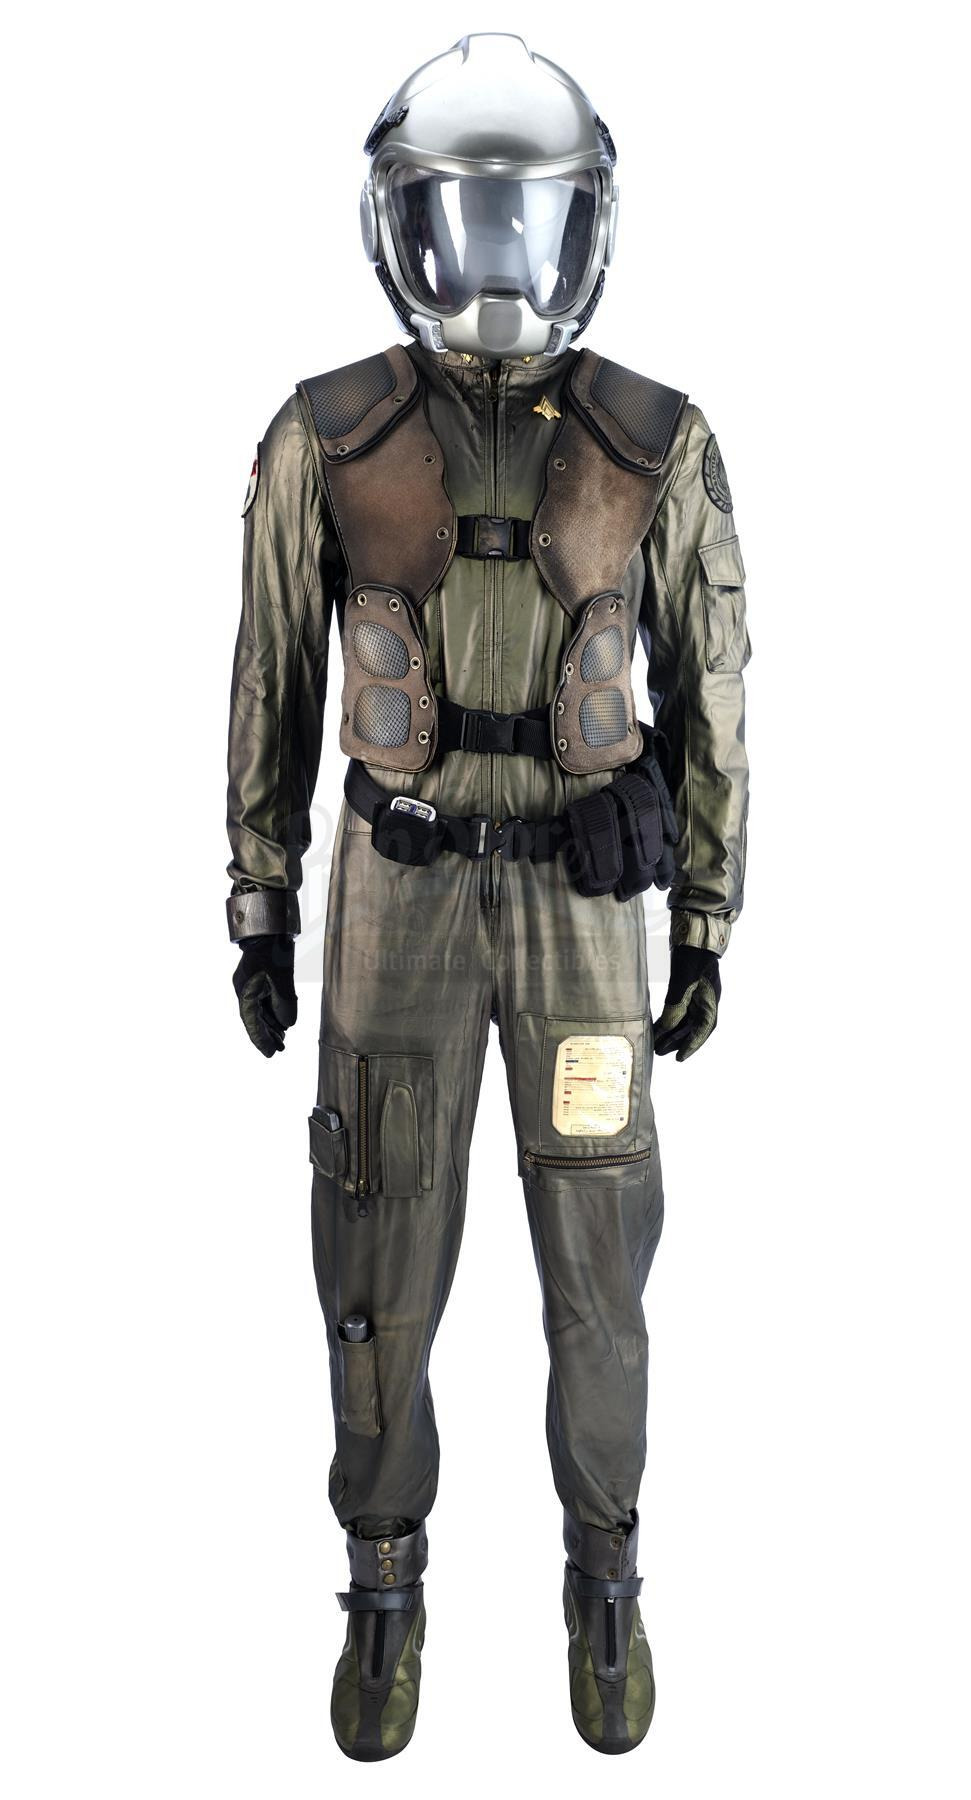
Viper Flight Suit
New Viper Helmet
Packaged Viper for Sea Transport to Space Port (Naval)
Packaged Stealth Viper for Sea Transport to Space Port
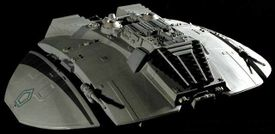
Captured Raider Current
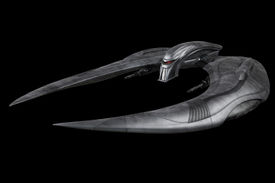
Captured Raider Classic
The Point of the Event/Crossover
Spoiler
The goal of this event is to give Gaijin a way to test a dynamic, team-based PVE game mode that challenges both player coordination and AI behavior. Built around the Battlestar Galactica setting, the event provides a focused, high-stakes combat environment where teamwork, communication, and adaptability are key.
This isn’t a simple AI script. It’s not supposed to be easy. The enemy forces are designed to be unpredictable, coordinated, and dangerous pushing players to think, react, and rely on one another under pressure. Challenges can still be entertaining, and that’s exactly the point: to make difficulty engaging, not frustrating. Every decision when to strike, when to retreat, and how to protect your wing mates matters.
For players, the mission offers a true cooperative experience: follow your briefing, eliminate key threats, adapt to shifting objectives, and survive long enough to make it home. Going off-script might earn personal glory, but it could cost the team the mission.
For developers, the event acts as a testbed for advanced AI and mission scripting, capable of reacting to player behavior, managing formations, and coordinating defensive systems across large 3D environments. It’s also an opportunity to study how players communicate, prioritize, and strategize when faced with overwhelming odds.
And let’s be honest this mode finally gives players a safe place to do what they’ve always wanted to do: mess around with the most powerful weapon known to mankind nukes. PVE means nobody’s rage-quitting because you dropped an atomic warhead a little too close to friendly lines (again). It’s the perfect sandbox to test nuclear payload mechanics, shockwave effects, and radiation hazards all while letting players live out that “push the red button” fantasy without wrecking someone’s grind. Just… try not to vaporize the fleet, alright?
Regardless of any future integration or BR placement, the purpose remains clear: to prove that well-designed challenge, not grind, creates the most memorable gameplay. If it works, this could mark the foundation of a new cooperative PVE system in War Thunder, one that rewards not just skill, but teamwork and grit under fire.
Battle Star Galactica Videos
Spoiler
https://youtu.be/wyvvOFpGz1o?si=b6GNITWQarmLReST
https://youtu.be/cijhXMILMf4?si=tWGJW8_jI1nuS25H
https://youtu.be/6VAyg-xXH1s?si=LjcRl95qvRS-IhPS
https://youtu.be/sNk2LjsO8YE?si=0xzsEq2l1PqcPrJv
https://youtu.be/8A4224c_jHQ?si=EWzs1ARz4si_9VUW
https://youtu.be/bNuhcOZww4Y?si=nBGm-1MaCGNJhBX_
https://youtu.be/9s4cE4GZPJw?si=FA7CBV0EAqU244p0
https://youtu.be/nP2eG3Zf3Jo?si=2rsTw2UFoSIF2Rz6
https://youtu.be/BQNDSLhv1Ow?si=Bvbd-g3oINIGEkgJ
- I Don’t like Toasters & Want them Shot Down! 🚫🤖
- The IP
- The Advanced Scripting & AI Targets
- Dynamic PVE
- 3D Decorations
- Name Tags
- Decals
- Avatars
- SL/XP
- I Stated No Earlier!
Thank you for your Time and Reading this but Remember:
All of this has happened before, and all of it will happen again.
BY YOUR COMMAND!