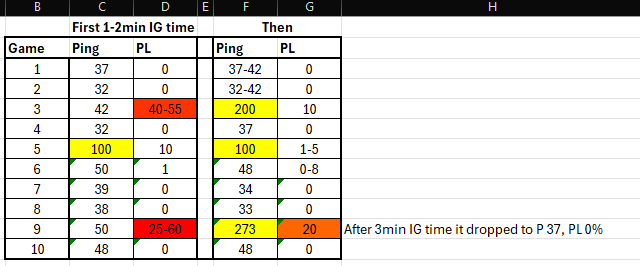
Quite often, when I start a battle, I have around 16–65% packet loss which last for half a minute or up to 5 minutes.
Sometimes it is not that bad but many times I have to wait a long time for “Processing operation” when i press “To battle” and when I finally spawn with my tank i got either 20-55% PL or 200+ Ping.
For me it is worst when I play Squadron Battles. Many times I have to wait in hangar when the battle starts. My teamates are in battle and I am sitting in hangar and can see in blurry that in the corner there are red PL numbers. A few members of our squadron have this problem too, but not as often.
Normally playing with 32-42 Ping. 0 PL% after few minutes in battle, after the issues settles.
What “fixes” the issue is using Mobile Hotspot, but I get 70-250 Ping…
What I already tried:
- Updated router drivers
- Updated all drivers on my pc (I’ve had this issue also on my previous PC)
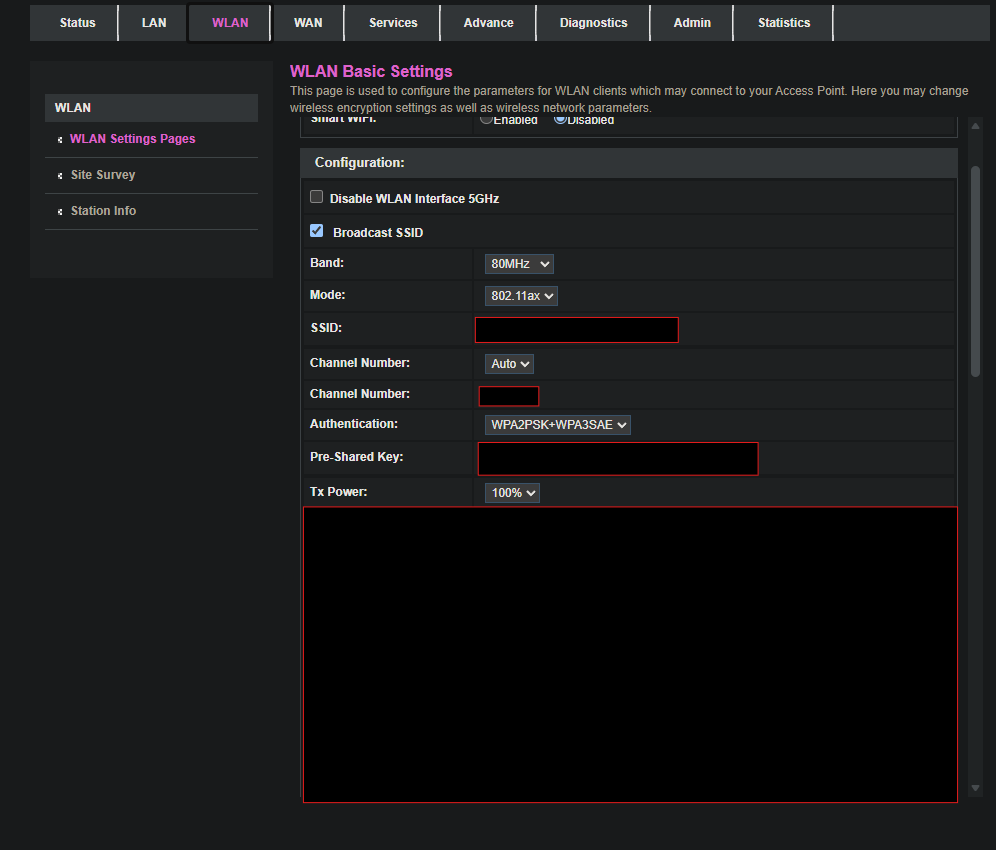
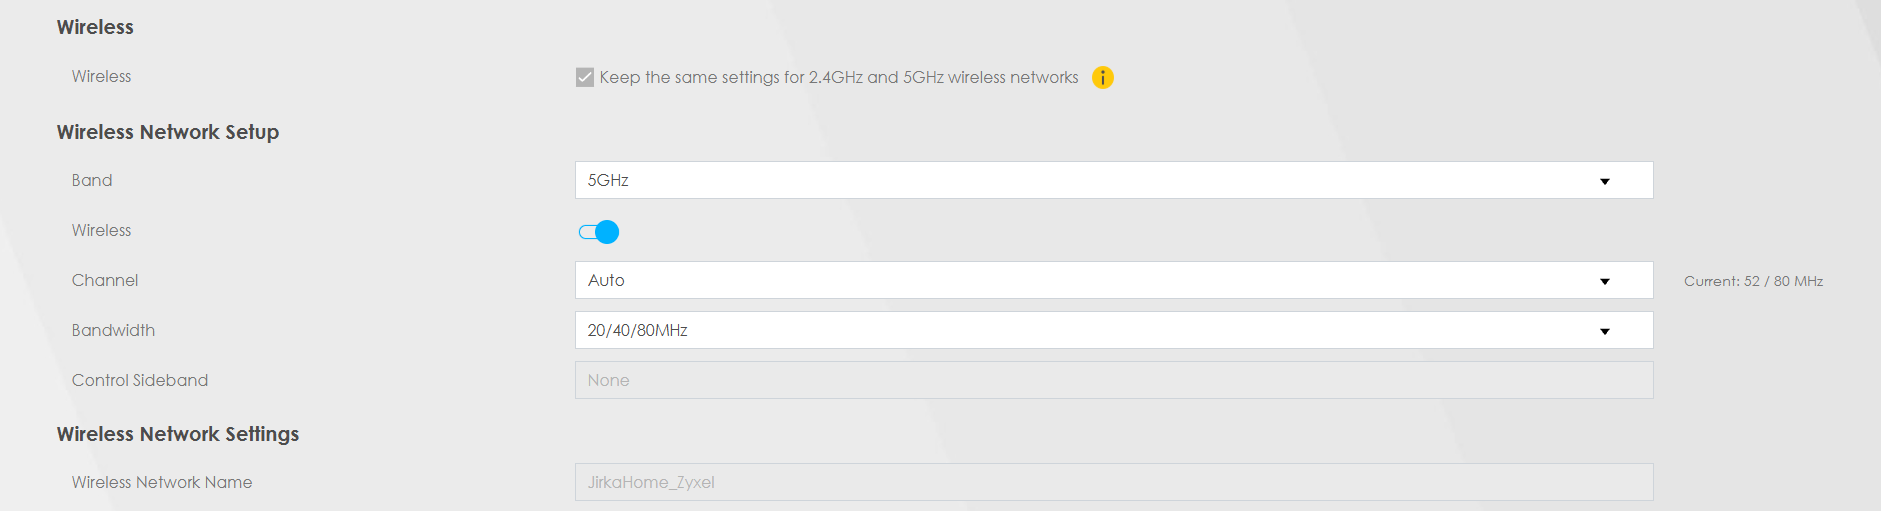
- Tried playing wtih WiFI and Ethernet cable, no difference, higher ping on WiFi
Is there any fix for this? I don’t want to use my phone to play WarThunder.
Solution / FIX :
If you are experiencing high Packet Loss (16–65%), long “Processing operation” delays when loading into battles, or sudden 200+ Ping spikes (especially on ISP networks like O2/Cetin or when using certain routers like Zyxel/OEMs), this guide can help you fix it.
This issue is often caused by poor ISP DNS routing to Gaijin’s servers and bad IPv6 route optimization.
THE FIX:
- Accessing Your Router Settings & Changing to Google IPv4 DNS
- Open your web browser (Chrome, Edge, Firefox, etc.).
- In the address bar at the top, type your router’s local gateway IP address (usually 192.168.1.1 or 10.0.0.138) and press Enter.
- Log in to your router using your admin credentials (these are usually printed on a sticker at the bottom or back of your router if you haven’t changed them).
- Navigate to your network configuration settings. Look for a section named Network Settings \rightarrow Broadband / WAN / Internet.
- Find your active internet connection profile (e.g., VDSL, EthernetWAN, or PPPoE) and click Edit (or the pencil icon).
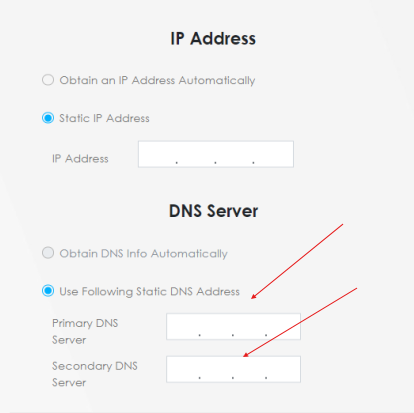
- Scroll down to the DNS Server section:
- Keep IP Address set to Obtain Automatically.
- Change DNS Server mode to Static / Manual.
- Set Primary DNS Server: 8.8.8.8
- Set Secondary DNS Server: 8.8.4.4
- Click Apply or Save.
⚠️ IMPORTANT NOTE ON IPv6 DNS: Do NOT manually set Google IPv6 DNS addresses in your router settings.
In many regions, routing War Thunder traffic over custom IPv6 DNS causes massive 50%+ Packet Loss and severe loading delays. Keep the IPv6 DNS Server setting in your router on Obtain IPv6 DNS Info Automatically.
- Disabling IPv6 in Windows 11
To prevent Windows from forcing game traffic through unoptimized IPv6 routes, disable IPv6 directly on your network adapter. (Don’t worry—all games, browsers, and streaming apps will work flawlessly over IPv4).
- Press Win + R on your keyboard to open the Run dialog.
- Type ncpa.cpl and press Enter (this opens Network Connections).
- Right-click your active connection (Ethernet or Wi-Fi) and select Properties.
- In the list under “This connection uses the following items:”, find Internet Protocol Version 6 (TCP/IPv6).
- Uncheck the box next to Internet Protocol Version 6 (TCP/IPv6).
- Click OK to save the changes.
- Flush Your DNS Cache
To make sure your PC immediately drops old routes and starts using the new settings:
- Press the Win key, type cmd, right-click Command Prompt and select Run as Administrator.
- Type the following command and press Enter:
ipconfig /flushdns - Restart War Thunder and test a few battles.
Hopefully, this guide helps anyone facing the same problem I had. I consulted Gemini—some suggestions worked, others didn’t—so I tried to make this guide as easy to understand as possible.
Thanks for the help @Alebang .