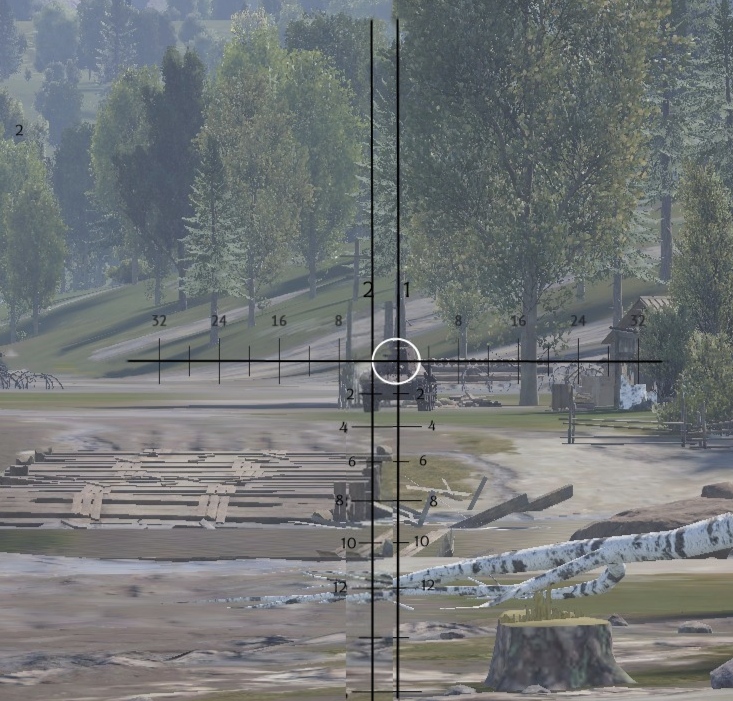
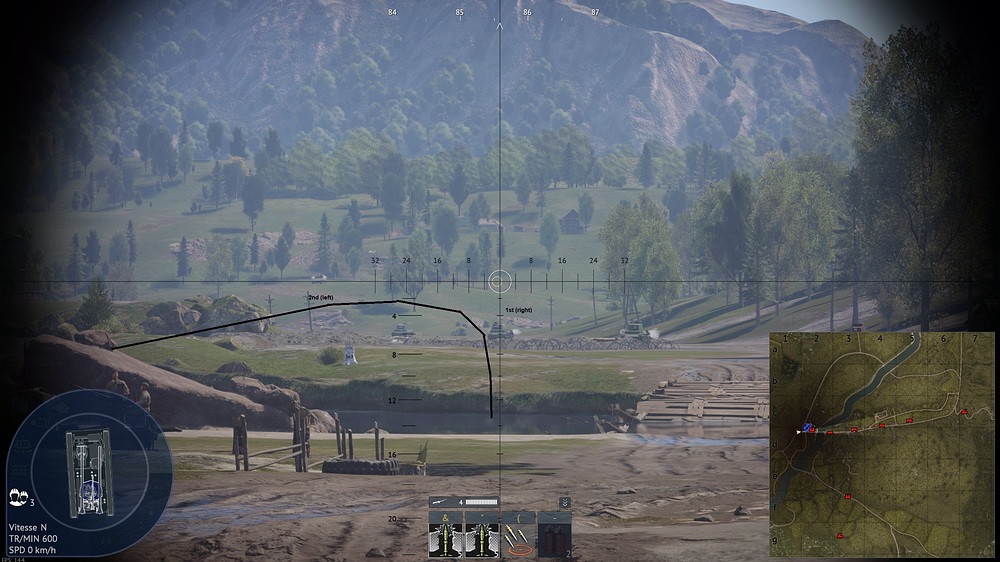
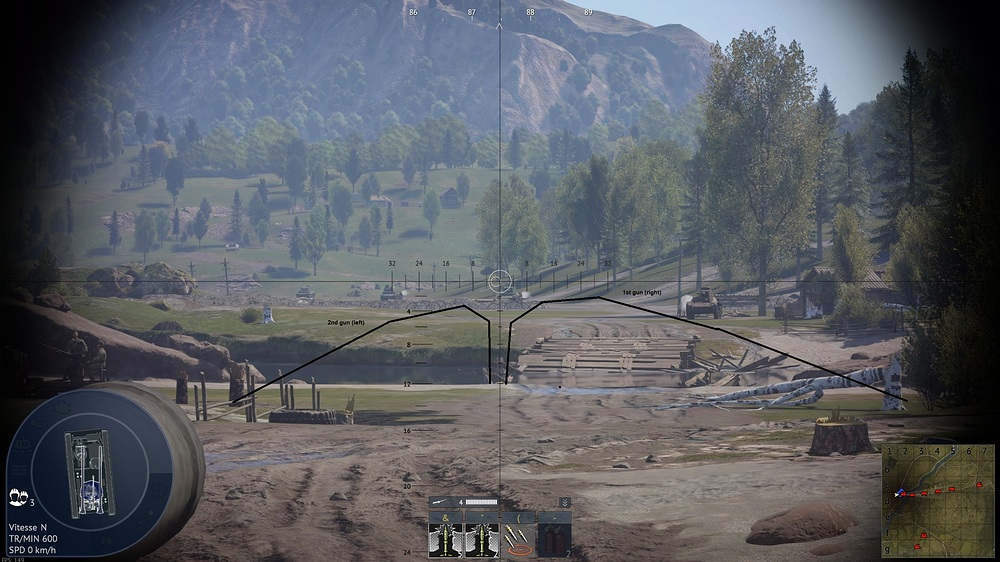
Hello everyone.
You find that the standard aiming interface is not to your taste? Would you like to have simpler or more complete sights? Or why not the historical optics for your mythical Tiger tank?
Here’s a step-by-step guide to installing a customised sight. Follow the guide.
!! Detail !! that tutorial are a traduction with Deepl of my work in french section. Images are in french, copy/past form the original topic.
:
-Part 1: Sights created only with game elements
-1°) How to create a custom sight
To start with, we’re going to look at how to customise a sight that can be used on other vehicles. Please note that these elements are already integrated into the game. Later on, we’ll look at how to get a viewfinder made by a modder.
Step 1: Follow the steps below to access the customisation interface:
This takes you to the following customisation interface:
-2°) Customising your sight
Now that you’re in the customisation interface, let’s take a look at what you’ll find:
-1° Vehicle selection. You can customise a sight on any vehicle, even if you don’t own it. Just search for it using the search block at the top left.
-2° Customisable elements: On the right-hand side, you’ll find all the elements you can modify on the viewfinder. Each element has a block allowing you to change its size, colour, font or simply whether or not it is displayed.
To move an element, it’s simple, just click and drag to the new position.
-3°) Save a customisation
-A) For the selected vehicle:
Once you’ve customised your sight the way you want it, you need to save it.
It’s as simple as clicking on the ‘save’ button on the search block
!!! WARNING!!! This save applies the viewfinder ONLY to the currently selected vehicle. To use your customisation on other vehicles, see point B below.
-B) Saving a customisation for other vehicles:
If you want to be able to quickly apply a customisation to another vehicle without having to redo everything, here’s how to do it:
Click here: save customisation
Click on ‘Save preset’.
Then name your file
!!! WARNING!!! the file name can ONLY contain alphanumeric characters. The only special character that can be used to mark a space is the underscore ‘_’.
If a character you wish to include in the name is not displayed, it is because it is not supported, so there is no point in insisting.
Once a customisation has been saved, it is available in the ‘choose preset’ menu.
!!! WARNING!!! Once you have selected the viewfinder, don’t forget to save for the selected vehicle!!! (see previous point A)
Your saves are placed in the following folder:
-C) Special case for a customisation save:
!!! WARNING!!! If you save a customisation with a reticle other than those integrated into the game, the reticle will not be taken into account in the save. Only the predefined elements (turret, colours, reload time, etc.) will be saved.
If you wish to have the same reticle and the same layout, you will need to have the sight file in the vehicle folder (see -Part 2 ) below then select your preselection and add the reticle you want.
-Part 2: Use sights created by modders
-1°) Use a reticle created by the community
Here we’ve seen how to customise the aiming interface using elements from the game. But you may want to use other sights that have a stadimetric scale, for example, or simply the realistic sight of the vehicle you like to drive.
To find these sights, please visit the War thunder live site, in the “sights” category.
https://live.warthunder.com/feed/sights/
Here is my personal page with some historical sights and above all a pack of sights for shooting with the shooter optic (for SB or all the time if you want).
!!! WARNING !!! You must be logged in with your Gaijin login to see all the items posted on the live.
Once you’ve found what you’re looking for and downloaded it, the rest is pretty straightforward.
-2°) Put the viewfinder in the right folder
You must first go to the “Usersights” folder in War Thunder
Place the previously downloaded .zip file in this folder (empty if it’s your first sight) and unzip it (right-click => extract here).
Most of the time, modders include the sight file in the vehicle’s named folder, so you won’t need to do anything else in this folder. If not, ask a modder for the name of the vehicle folder.
-3°) Update the game and display your new sights
Simple method: Restart the game, then go to the customisation interface.
If you don’t want to restart the game, run a test drive and then use the “reload custom sight” command.
!!! WARNING!!! If the default command ‘Alt+F9’ does not work, it is because it is assigned to another application (for example, screenshots on NVIDIA). Don’t hesitate to change it if necessary.
-4°) Modifying a sight
Feel free to take inspiration from the codes of other viewfinders depending on what you want to achieve (squares, circles, lines, text etc).
I advise you to use “notepad” (the default program on windows) to edit the file. Once you’ve made your changes, save (Ctrl+S) and refresh the viewfinder while testing the vehicle (Alt+F9 or your custom command) to see the result. You can modify the file while the vehicle test is running to save time.
Click here: File open

If you then want to publish your sights, go to Live War Thunder (WT Live // Best sights for the past week).
Then click on " ADD “ then ” Sight" and follow the instructions.
-5°) The main families of gunsights
-A° historical sights:
These sights are [almost] identical to real tank sights. Because of their realism, they can be used with the standard sniper view (placed at the end of the gun) or the ‘Shooter Optics’ view.
In spoiler, the real sights of the Leclerc and VBCI2 (MCT30):
-B° customised sights:
These sights are not historical but improve the visual ergonomics specific to each player. They often contain distance-measuring elements to facilitate long-range telemetry. Very useful for tanks with rocket launchers, as they have a sight for the latter. Best used with the standard sniper sight (placed at the end of the gun).
-C° ‘Diagonal’ sights:
These sights are most often used in SB. They give you the trajectory of the shell and make it easier to compensate for the offset of the barrel in relation to the optic. To be used with the “Camera from tank gunner sight”.
This option is automatically activated in SB but can be used in all game modes by ticking the option below:
Below, the diagonal sight for the Maus:
Below, the diagonal sight for the Sherman Calliope:
This is the end of this guide. You now have the keys to using sights other than the one in the game. Don’t hesitate to give your opinion on this guide, and even less to ask any questions you may have.


